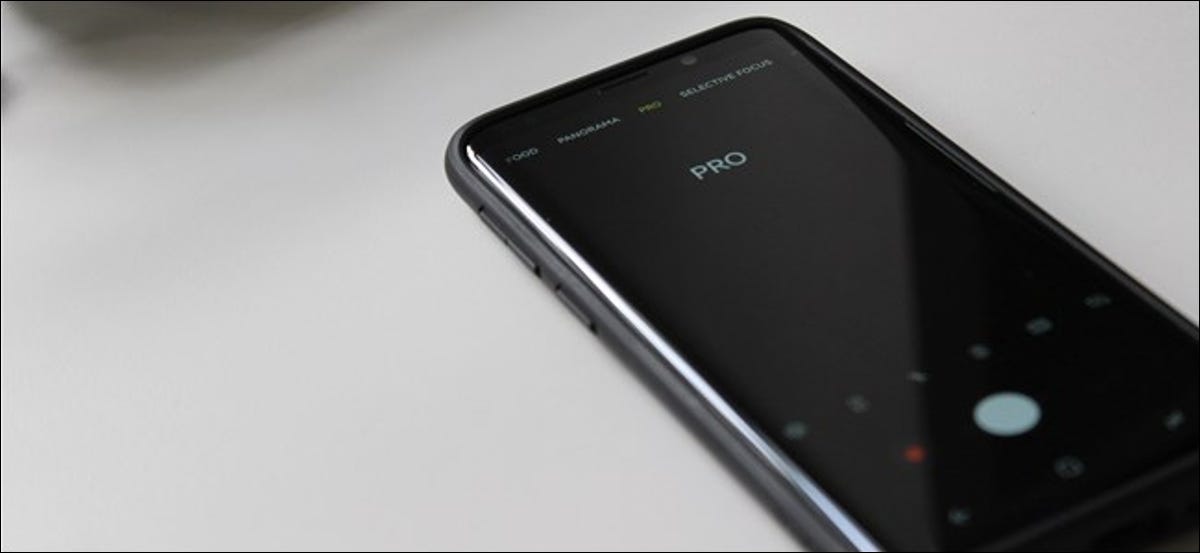
Samsung Galaxy smartphones usually have excellent cameras. Pro mode allows you to go beyond the simple functions of “point and shoot” when unlocking advanced settings like ISO and aperture settings, and allow you to modify almost every aspect of the photographic experience. Here's how to get in and use it.
How to enter Pro mode
If you are interested in trying Pro Mode for yourself (or just follow it), it is quite simple to enter.
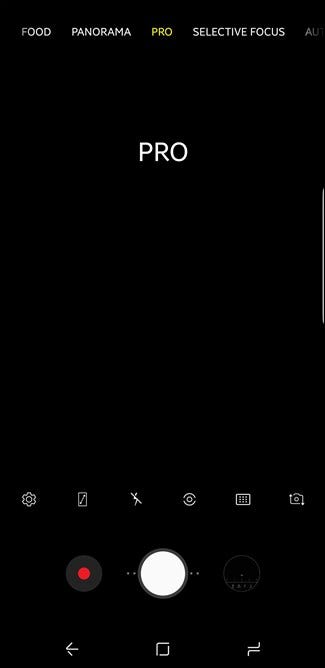
Launch the camera app on your Galaxy smartphone. At the top of the viewer area, you will see various presets: Meal, Panorama, Selective focus and more. Just scroll to the preset “Pro”, that is all.
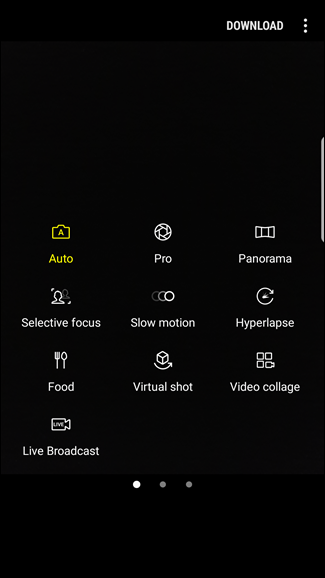
If you don't see these settings at the top, you are probably using a slightly older Galaxy phone. Do not worry, to find it on those phones, swipe to the leftmost panel in the viewer and then click the preset “Pro” there.
Note: We are using a Galaxy S9 for this tutorial, so things may be in a slightly different area compared to your phone.
RELATED: How to take better photos with your phone's camera
What you can do with Pro mode
In the same way as with a DSLR camera, you can modify the settings that are important to you. If you are already familiar with the settings found on these cameras, you will feel right at home in Pro mode.
But if you've never messed around with a DSLR camera before, Pro Mode can act as an excellent manual to prepare you for a, or even help you choose if it is something you intend to try. There is absolutely nothing wrong with being content with using automatic mode (or some other preset) on your smartphone. This is why they are there!
But if you are looking to get more out of your phone's camera, Pro mode is absolutely the way to do it. Here's a look at each button and what it does.
RELATED: The most important settings of your camera: shutter speed, opening and ISO explained
Note: Most of the items below have links to more detailed descriptions of the function when it comes to photography.. If you are interested in learning more about each environment and what it does in the images, this further reading will help you.
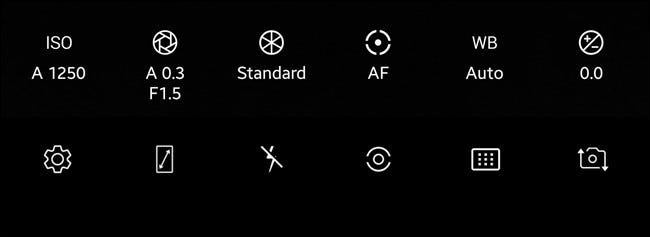
- I SO: ISO adjusts the light sensitivity of the image sensor. A lower setting makes it less sensitive to light, while a higher one will make it more sensitive. This controls how detailed or grainy an image is ultimately: the lower the ISO you can get away with in a given situation, better.
- Opening: This changes the size of the hole in the lens that allows light to enter.. Goes hand in hand with ISO and is used to achieve the shallow depth of field seen in portrait photography.
- Filter: Preset Filters, like on Instagram ... but before taking the photo.
- Focus mode: Autofocus or manual focus.
- White balance: Enables you to adjust the lighting to suit your situation. This is mainly controlled with presets, as daylight, Cloudy, Florescent and the like.
- Exposition: In summary, this setting controls how bright or dark your photo is.
Below this row, there is a second row:
- Settings: Access basic camera settings.
- View mode: Toggle full view mode, that uses the entire screen and overlays the controls.
- Flash: Turn the flash on or off or auto.
- Measure: Measure the amount of light in the shot. Here are three modes: punctual, center and center weighted.
- Autofocus area: Tells the camera whether to focus the entire shot or just the center.
- Camera selection: Switch between front and rear camera.
Here is the best part: most of these settings have an automatic mode, so you only have to modify the ones that interest you. This means that you can leave the White Balance in automatic mode., which will select the best setting for your current lighting, while manually adjusting the ISO and Aperture.
Because, although this is called mode “Pro”, still a very beginner friendly way to get more out of your Galaxy phone's camera. Leave the settings you don't want to mess with automatic and just play around with the settings that interest you.
As you get more comfortable with these settings and learn how they all work together, your photos will improve as a result. If you plan to work your way to a DSLR, using Pro mode is a great start; when you've mastered it, you can truly unlock the potential of a camera “real”.
RELATED: How to switch to a dedicated camera after using a smartphone camera
setTimeout(function(){
!function(f,b,e,v,n,t,s)
{if(f.fbq)return;n=f.fbq=function(){n.callMethod?
n.callMethod.apply(n,arguments):n.queue.push(arguments)};
if(!f._fbq)f._fbq = n;n.push=n;n.loaded=!0;n.version=’2.0′;
n.queue=[];t=b.createElement(e);t.async=!0;
t.src=v;s=b.getElementsByTagName(e)[0];
s.parentNode.insertBefore(t,s) } (window, document,’script’,
‘https://connect.facebook.net/en_US/fbevents.js’);
fbq(‘init’, ‘335401813750447’);
fbq(‘track’, ‘PageView’);
},3000);


