The immediate AirPods experience is pretty good. But, What if you want to change the behavior of the gestures? There are a few settings you need to tweak to boost your experience. Here's how to change AirPods settings.
Once your AirPods are paired and connected to your iPhone or iPad, you can change the settings and customize the behavior from the Bluetooth menu of your device.
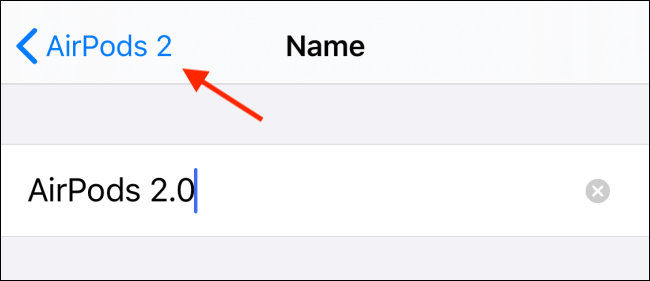
Change the name of your AirPods
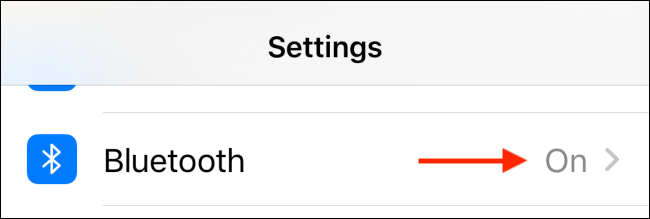
Open the app “Setting” and go to section “Bluetooth”.
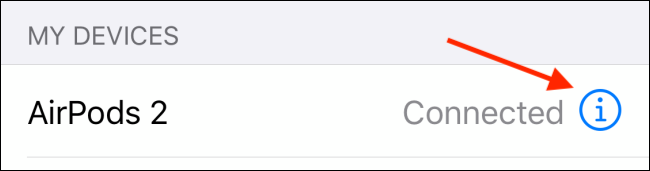
Here, touch the button “i” next to your AirPods.
You can tap on the option “Name” to rename your AirPods.
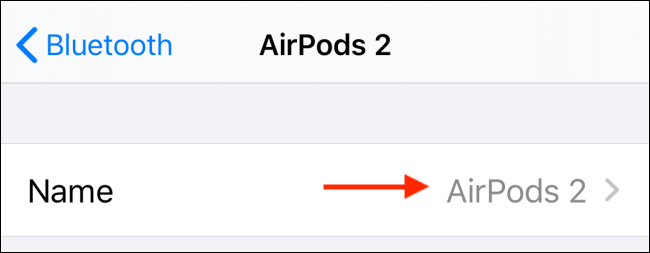
On the next screen, type a new name, and then tap the “Ready” on the keyboard to save it. Now, select the back button to return to the AirPods settings menu.
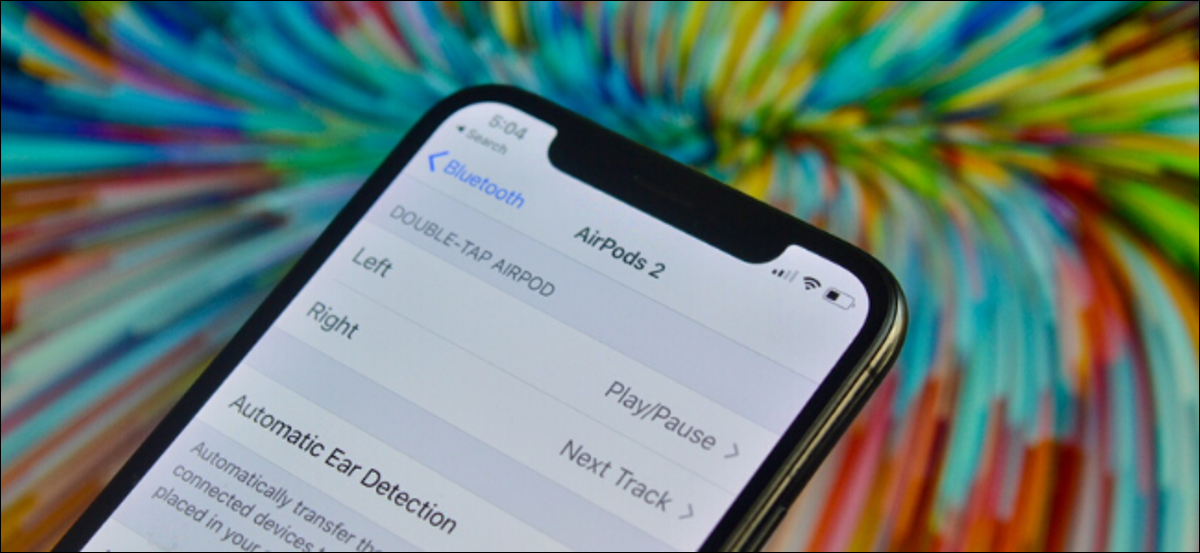
Customize double-tap or hold behavior
By default, double tap gesture for AirPods and press and hold combination for AirPods Pro are associated with Siri. If you are used to Bluetooth headphones, you might want to replace them with replay actions / pause or next track / above or the noise cancellation alternatives.
If you are using second generation AirPods or AirPods Pro, the sentence “Hey Siri” will show Siri at any time. As such, it is better to reassign these gestures to more useful actions.
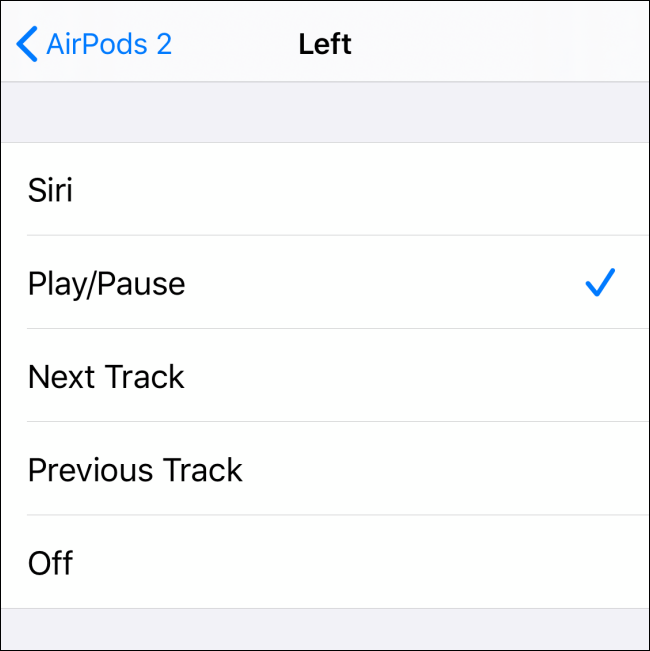
Touch the option “Left” O “Right” to change the action.
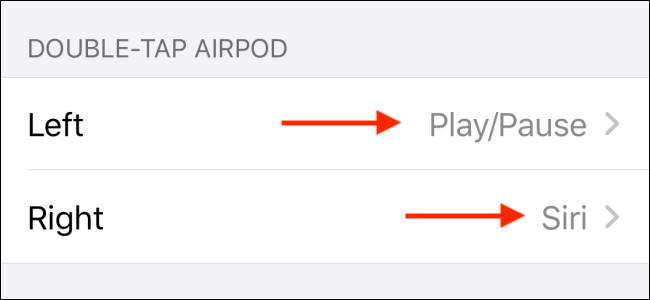
Here are all the actions available on AirPods:
- Siri
- Play pause
- Next track
- Previous track
- Off
And here are the actions available in AirPods Pro:
Disable automatic ear detection
If you don't like your AirPods starting and stopping audio playback when you put on or take off the headphones, you must disable the automatic ear detection function. You can do this by tapping the toggle next to the option.
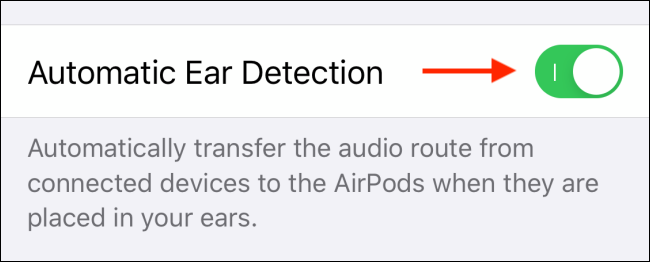
This is also the feature that makes the audio from your phone or tablet automatically switch to AirPods as output when you put them in your ears.. If you prefer to switch to your AirPods manually, you can disable this feature.
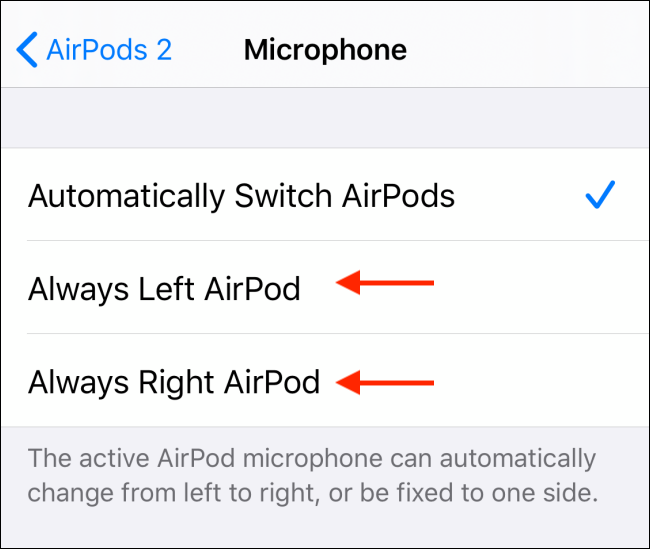
Choose which microphone to use
Finally, you can customize which of your AirPods microphones are used by tapping the “Microphone”. By default, Your AirPods will automatically switch the microphone between earbuds based on the earbud you're using.

But if you want, you can tap on the option “AirPod always on the left” O “AirPod always on the right” to force AirPods to always use a particular microphone.
if you have audio difficulties with a particular microphone, this can be a good way to fix the problem without spending money on a replacement unit.
New to AirPods? Here's how to pair two sets of AirPods with the same iPhone; pair AirPods with a PC, Mac, android mobile or any other device; and use the Find My app to locate your lost AirPods.
RELATED: How to pair AirPods with a PC, Mac, android mobile or other device


