
Noise cancellation is one of the great features of Apple's AirPods Pro. You can toggle between Noise Cancellation, Transparency and the default mode. Here's how to quickly enable noise cancellation for AirPods Pro on iPhone, iPad and Mac.
On iPhone and iPad
Once you pair and connect your AirPods Pro to your iPhone or iPad, you can enter the noise control modes directly from the Control Center.
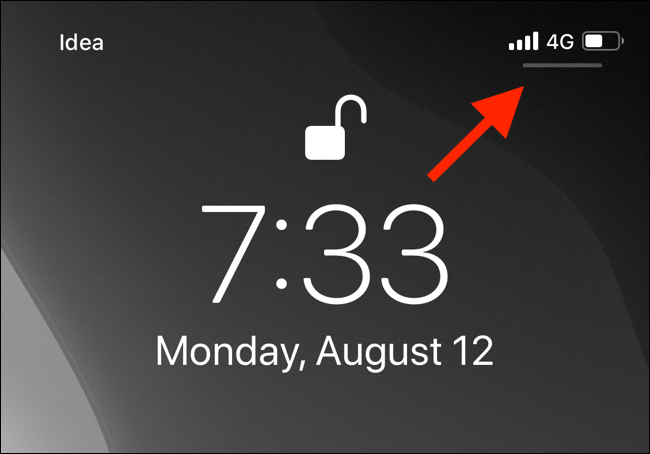
If your AirPods Pro aren't automatically connected to your iPhone or iPad, you can connect them manually using the AirPlay function. Swipe down from the upper right corner of the iPhone or iPad screen to open Control Center.
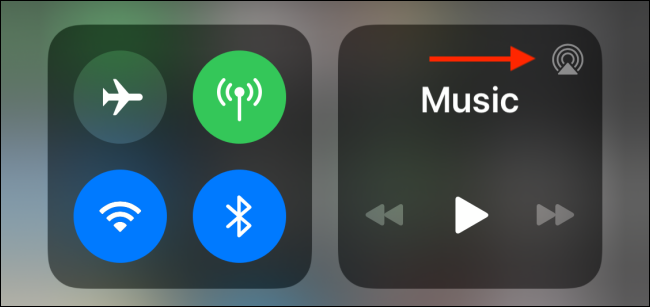
Subsequently, touch the icon “AirPlay” in the upper right corner of the widget Now playing.
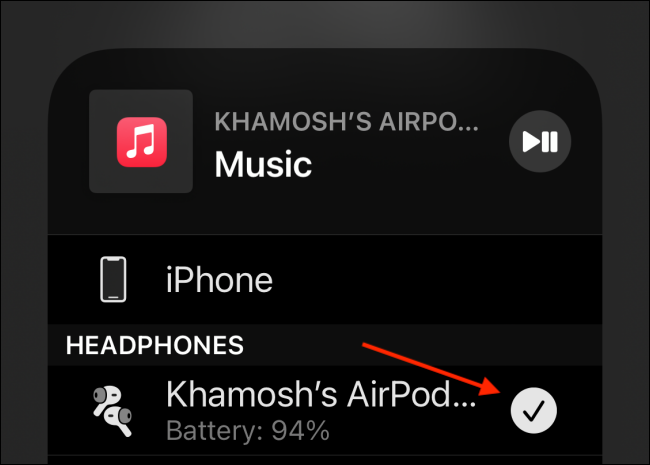
Here, tap your AirPods Pro to switch to them.
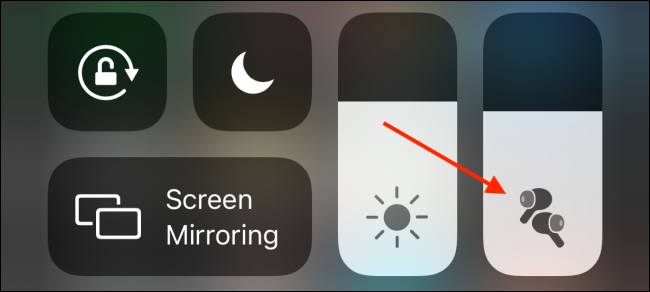
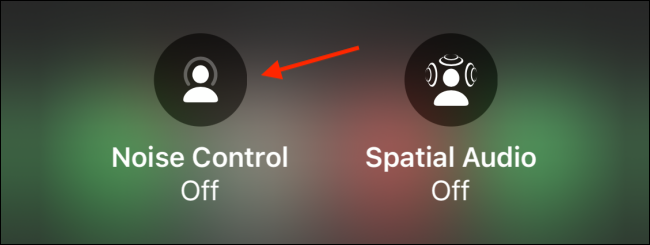
Now that your AirPods Pro are connected, go back to the Control Center. Here, you will see the AirPods Pro icon in the Volume slider. Hold down the “Volume slider” to expand it.
Here, touch the button “Noise control”.
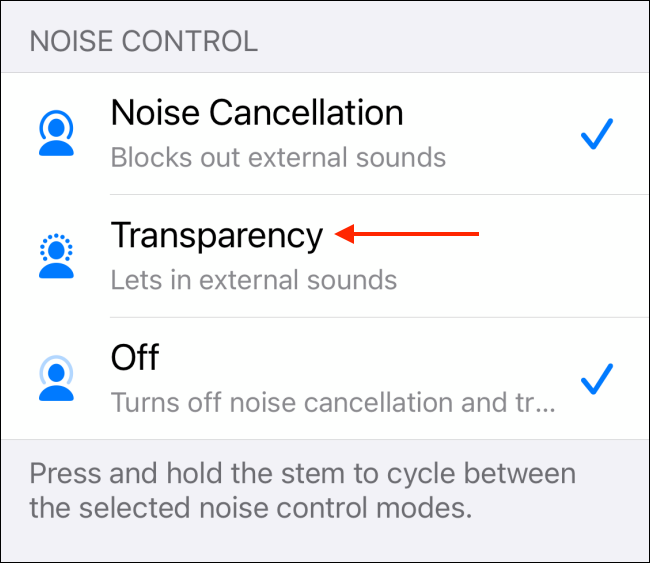
Now, can switch between the three modes: Noise Cancellation, transparency and off. Touch the button “Noise Cancellation” to enable noise cancellation.
Transparency function allows entry of ambient noise, while noise canceling mode blocks out all noise.
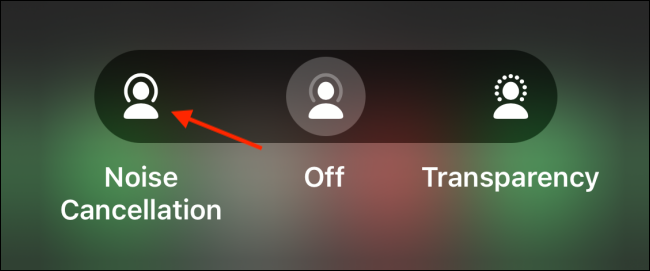
When you want to turn off noise cancellation, you can go back to this screen and touch the option “disabled”.
RELATED: How to Manually Switch AirPods Between Macs, iPhone and iPad
Directly on AirPods Pro
Although the Control Center makes it easy to switch between different noise control modes, it still takes a few taps on your iPhone or iPad for that to happen.
You can switch between the three noise control modes directly from your AirPods Pro without touching your iPhone or iPad.
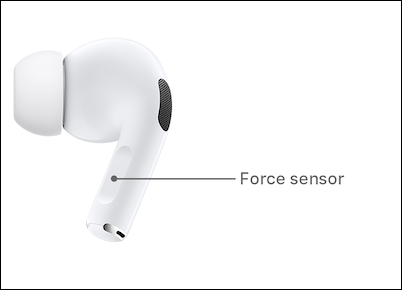
To do this, just press and hold the force sensor on the stem of the AirPods Pro. In a second or two, you will hear a chime and the AirPods Pro will switch to a different mode. Each mode (Off, Noise Cancellation and Transparency) has a distinctive buzzer that lets you know which mode is on.
By default, you can do this on both the left and right AirPods Pro. But this function is also customizable. You can open Siri by holding one of the AirPods Pro's stems.
At the same time, you can select which modes you want to cycle through. As an example, can clear Transparency mode. In this way, holding the force sensor will only enable or disable noise canceling mode.
To do this, open the app “Setting” on your iPhone after connecting your AirPods Pro.

Touch the section “Bluetooth” in the listing “Setting”.

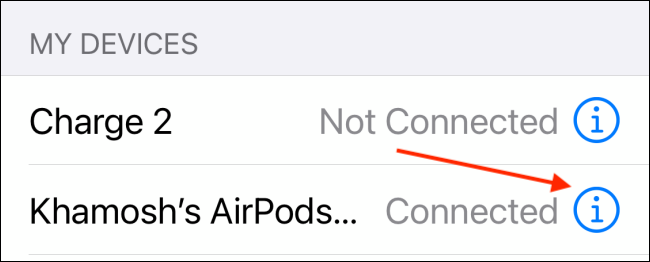
Here, touch the button “i” together with AirPods Pro.
Here, tap option “Left” O “Right”. Here, Make sure that “Noise control” is selected at the top.
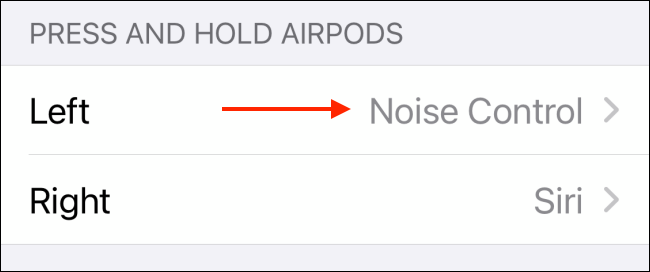
Subsequently, tap option “Transparency” to deactivate it.
Now, when you press and hold the force sensor on your AirPods, it will only toggle between noise canceling mode and off mode.
On a mac
While the iPhone and iPad guide you through the procedure of switching between different noise control modes, the Mac doesn't.
Yes, you can still use noise cancellation mode on your Mac. You can do it in two ways. Using the force sensor on the stem of the AirPods Pro, or using the Volume option on the Mac menu bar.
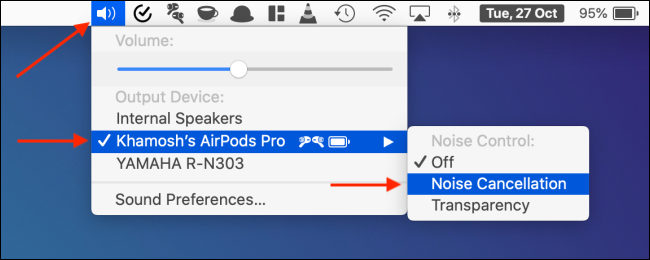
For a Mac user, the Volume section is the clearest way to switch between the different modes.
To do this, Click the button “Volume” from the Mac menu bar and choose your AirPods Pro. Here, choose mode “Noise Cancellation”. You can come back here and select the option “disabled” to deactivate noise cancellation at any time.
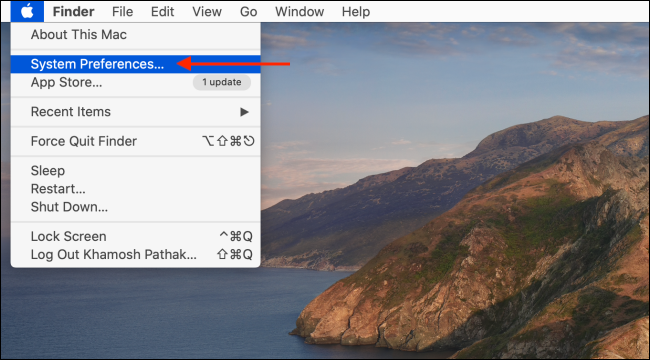
If you can't find the Volume section on the Mac menu bar, you can enable it from System Preferences. Click on the menu “Apple” from the menu bar and go to System Preferences> Sound> Departure. Here, check the option “Show volume in menu bar”.

As we already mentioned previously, you can toggle between noise control modes by holding the force sensor on the stem of the AirPods Pro. By default, this toggles between the three modes. You can clear Transparency mode from this cycle using System Preferences.
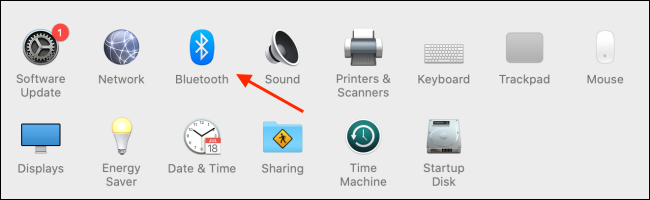
Click on the icon “Apple” from the menu bar and select “System preferences”.
Here, choose the menu “Bluetooth”.
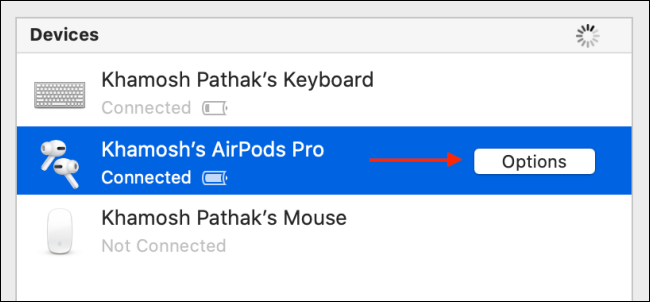
Now, Click the button “Choices” together with AirPods Pro.
Here, make sure Noise Control is enabled for at least one AirPod and then uncheck the option “Transparency”. Subsequently, Click the button “Ready” to save the settings.
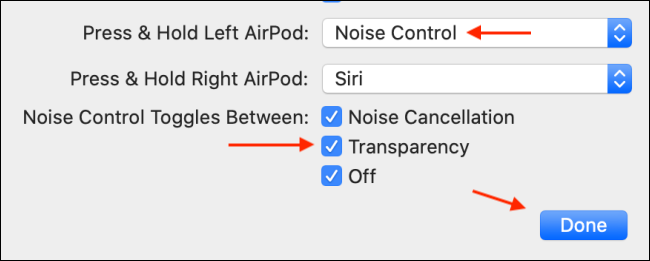
Now, when you press and hold the stem of the AirPods Pro, will only enable or disable noise cancellation mode.
RELATED: How to enable noise cancellation for AirPods Pro on Mac
Just got a pair of AirPods Pro? Learn all about it in our complete AirPods Pro guide.
RELATED: How to use your AirPods and AirPods Pro: the complete guide
setTimeout(function(){
!function(f,b,e,v,n,t,s)
{if(f.fbq)return;n=f.fbq=function(){n.callMethod?
n.callMethod.apply(n,arguments):n.queue.push(arguments)};
if(!f._fbq)f._fbq = n;n.push=n;n.loaded=!0;n.version=’2.0′;
n.queue=[];t=b.createElement(e);t.async=!0;
t.src=v;s=b.getElementsByTagName(e)[0];
s.parentNode.insertBefore(t,s) } (window, document,’script’,
‘https://connect.facebook.net/en_US/fbevents.js’);
fbq(‘init’, ‘335401813750447’);
fbq(‘track’, ‘PageView’);
},3000);


