
One of the first rules of cybersecurity is to always lock your computer before leaving it. Although it may not be the fastest way, you can lock your Apple Mac using Terminal. Here's how to do it.
Require a password to unlock your Mac
The command to lock your Mac using Terminal does not Truly Close it. Rather, just put him to sleep. To be considered “locked”, a password must be required to enter a Mac after it has been put to sleep.
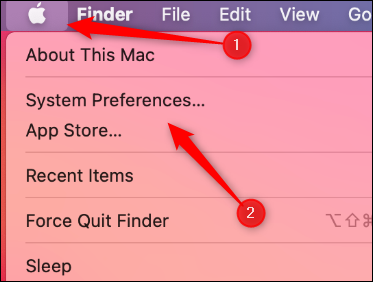
To password protect your Mac after it has been put to sleep, click on the Apple icon at the top left of the menu bar and then select “System preferences”.
Here, click on “Security and privacy”.

In the tab “General”, select the check box next to “Request password”.
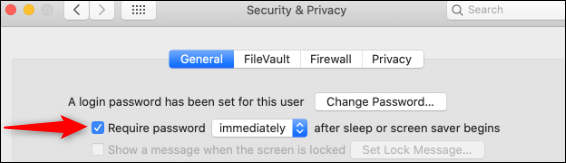
Enter your password and then click the arrows next to “Require password” to open the drop-down menu. Next, you can choose the amount of time that must elapse before a password is required. Please select “Immediately” to lock your Mac every time you put it to sleep.
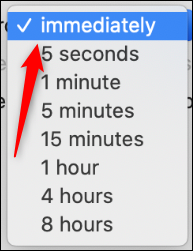
With this enabled, your Mac will crash immediately every time it goes to sleep.
Lock your Mac using Terminal
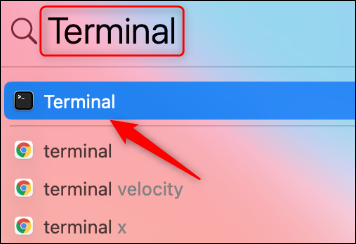
To lock your Mac through Terminal, you must start it first. Press Command + Space to open Spotlight Search. Scribe “Terminal” in the search bar and then click on it when it appears in the search results.
In Terminal, type the following command and then press Enter:
pmset displaysleepnow
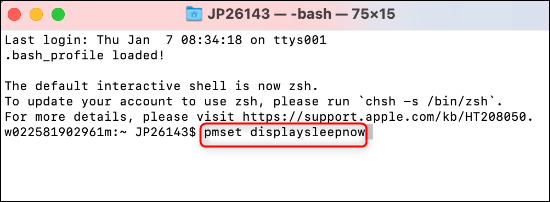
Your Mac will now be in sleep mode. If you selected the option to request a password to reactivate it, now it is also effectively blocked.
Locking your Mac is a good way to prevent unauthorized access to it, while allowing programs to run in the background. If you prefer to delete all operations, you can also shut down your Mac via Terminal.
RELATED: How to lock your Windows PC 10 via command prompt


