
Removing a distracting background from an image allows your audience to focus on the subject. Even though he is not known for his image editing suite, you can do it with Microsoft Excel. This is how you do it.
First, open excel application and insert a picture (Insert> Image) containing the background you want to remove.
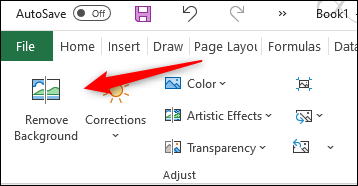
Once it has been inserted, estará automáticamente en la pestaña “Picture format”. Here, click on “Clear background”, who is in the group “Adjust”.
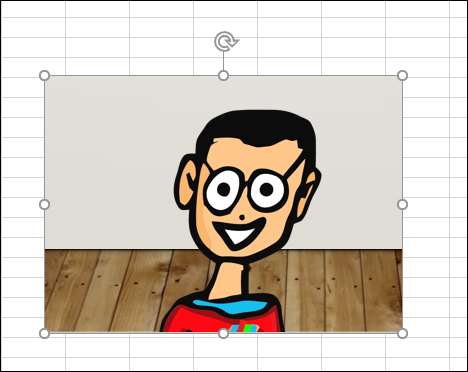
Once it has been selected, the background of the image will appear magenta while the foreground remains intact. The part of the image that is highlighted in magenta is the area that will be removed.
RELATED: How to remove the background from a picture in Microsoft PowerPoint
Microsoft Excel in general is pretty good at accurately highlighting the areas you would expect to remove from an image, but it is not always 100% exactly. In most cases, you will need to do some minor tweaks.

To mark areas of the image that were not highlighted for deletion by default, click on “Mark areas to remove” in the group “that appears once the image is inserted” of the tab “Picture format”. For the highlighted areas you want to keep, click on “Mark areas to conserve”.

Whatever the case, the cursor will turn into a drawing pencil once it is selected. Click and drag the cursor around the areas you would like to remove.
Marking areas for removal
Alternatively, click and drag around the areas you would like to keep.
Marking areas to keep
Next, click anywhere outside the image to reflect the changes.
Now the background is removed from the image.
Once you have removed the background from the image, be sure to add alt text to the image so that readers using a screen reader can understand the context of the image.


