If you are a fan of the Kanban board organization method like Trello or MeisterTask, test dashboard view in Outlook calendar. With one click, can see your agenda, adhesive notes, uncompleted tasks, essential files and more.
At the time of writing this post in September 2021, dashboard view is enabled only on calendar in Outlook for the web. With the, can create different boards, add whatever you want to each, resize or move items and see your most important items in one useful place.
Open dashboard view in Outlook
Visit Outlook.com, log in and click the Calendar icon on the left as you would regularly to see your schedule and events.
With the drop-down button at the top right that shows the current calendar view, select “Panel”.

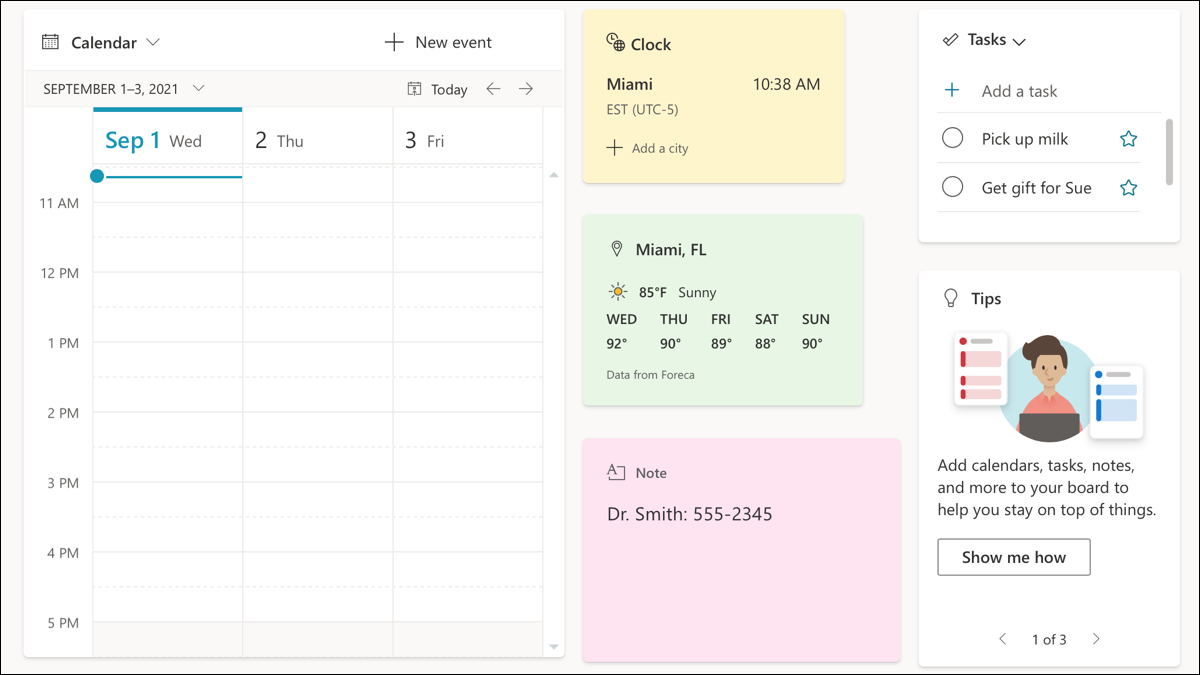
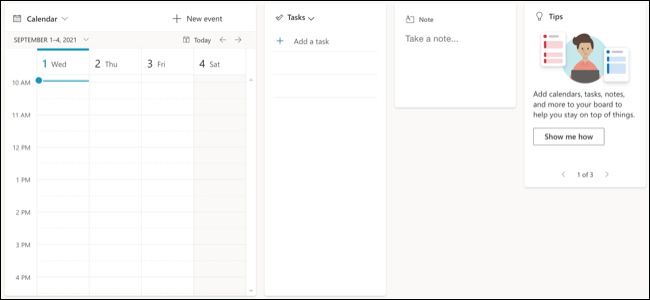
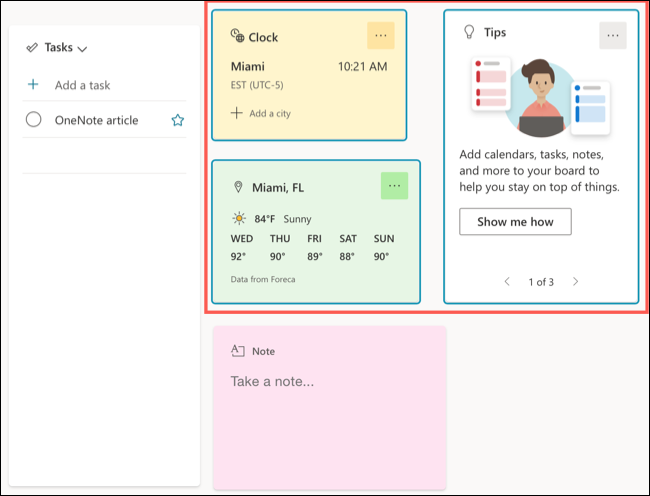
Then you will see your default dashboard view with some items already placed by Microsoft to get started. These can include your calendar, chores, notes and tips. Items are interactive, so you can do things like create a calendar event, mark a task as completed or make a note.
Add or remove items from your board
You can add and remove items on your dashboard to make it work better for you.
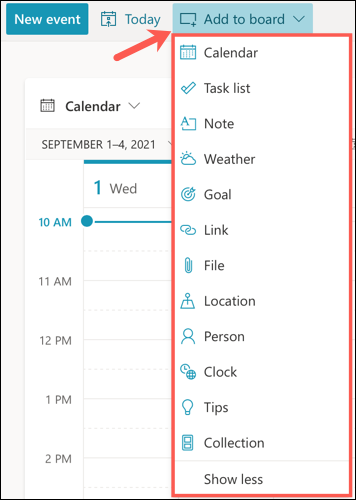
To add an item, click on “Add to dashboard” in the upper left. Click on “Show everything” at the bottom to see all available items. You can add items as a link, a file, a location, a clock and the weather.
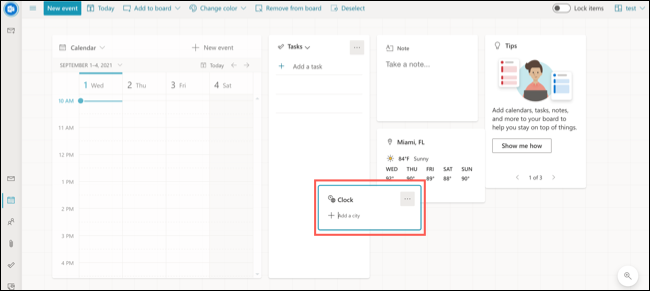
When you select an item to add, will appear in a blank space on your board. Just drag it where you would like to place it.
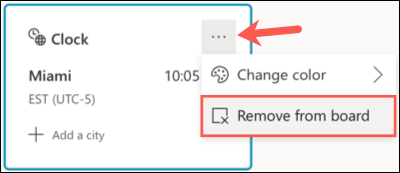
To remove an item, click on the three dots in the top right to open More options. After, select “Remove from dashboard”. Alternatively, select the item and choose “Remove from dashboard” in the toolbar.
Rearrange your board
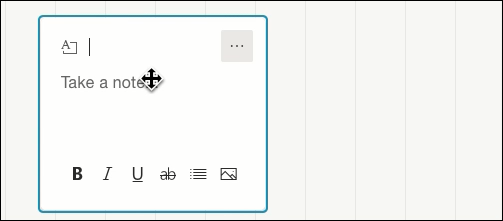
You can organize your table however you want. Just click on the item you want to move, drag it to its new location on the board and drop it. As you move an item, you will notice a faint striped background. This can help you align your posts neatly..
You can also move a group of items. Hold down Ctrl on Windows or Command on Mac while clicking each item. You will see that the border of each element turns blue. With all of them selected, just drag to move the group.
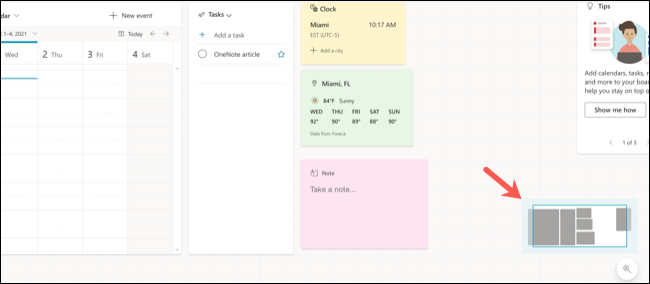
At the same time, you are not limited to just using the space you see. You can move items right or down past the bottom. Simply drag slowly to move an item to an off-screen location and the screen will move.
After, to see those items, click and hold a blank space on the board. You will see an outline of your board appear in the lower right. Drag the screen until the outline shows the items you want to see.
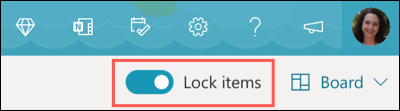
If you want to secure your posts in their places on your board, can block them. This prevents you from accidentally moving something. Activate the Lock items option in the upper right part of your dashboard.
Resize or customize items
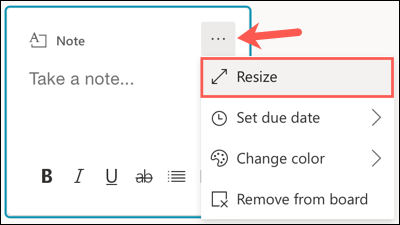
Many items you place on your board can be resized. So you can do things like your smallest notes and your largest calendar. Click on the three dots at the top right of the item and select “Resize” or select the item and click “Resize” in the toolbar.
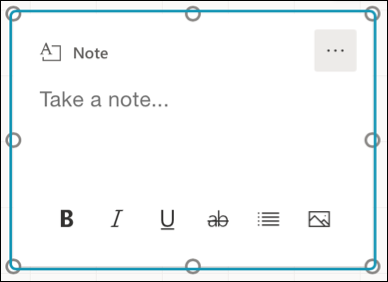
Then drag a corner or edge, in or out to the size you want.
Some items you add to your dashboard offer additional options. As an example, if you show your calendar, you can choose the view as agenda, week or month. For the watch, you can change the color and for the notes you can set a due date.
Click on the three dots at the top right of an item on the board to see all the available alternatives. Or select the item and view the alternatives in the toolbar.

Create, edit or remove dashboards
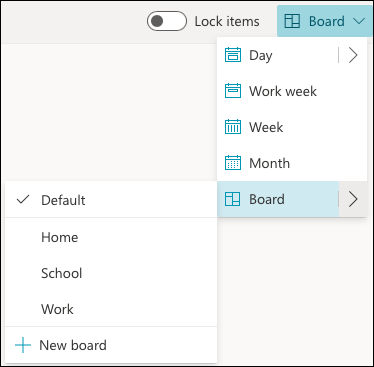
As mentioned, you can create additional dashboards instead of just using Default. This is where the function really comes in handy.. You can create dashboards for the home, work and school, each with its own set of useful items.
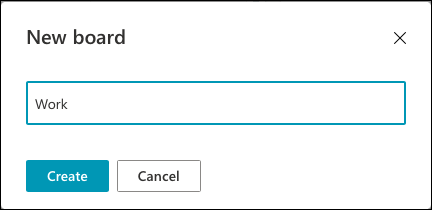
To create a board, click the Dashboard drop-down arrow at the top right. Move the cursor to the arrow next to Dashboard and choose “New dashboard”.
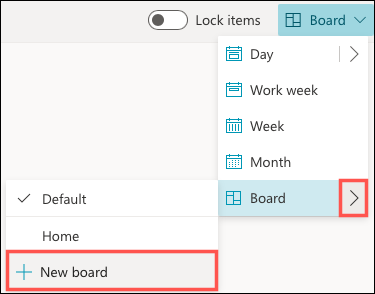
Give your new board a name and click “Create”.
After, you will have a new plate to organize and personalize. Use the same drop down box at the top to quickly switch between tables.
You can edit a board that you create by changing its name or remove one that you no longer need. Click the Dashboard drop-down arrow at the top right and then the arrow next to Dashboard. To the right of the board, click on the pencil icon to edit it or the trash can icon to delete it.
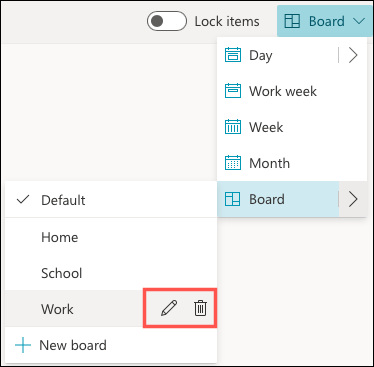
Note: You cannot edit or remove the default dashboard.
The dashboard view in Outlook calendar offers a helpful overview of all the items you want to see. Whether you want to check the weather or mark a task complete, it's an excellent feature.


