
When you work with shapes and objects in Microsoft Word, one of the most convenient features is Group. When grouping these types of items, become one. This makes it easier to move them around., resize and format them.
How to group objects in Word
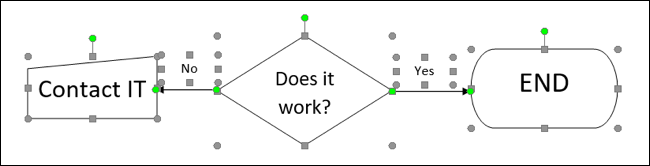
Maybe you're making a flowchart or creating instructions using arrows in Word. You can group them together to control them at the same time.
Select all the shapes or objects that you want to group. you can do this by holding down the ctrl key (Windows) the command (Mac) and clicking on each one. If you want to group all the items in your document, you can use ctrl + A (Windows) the command + A (Mac) to speed things up.
When you have selected the shapes or objects, you will see an edge indicator for each. This is a good way to make sure you have them all selected..
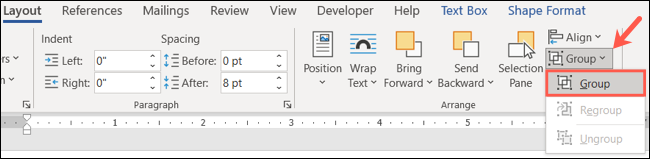
Go to the Design tab and the Organize section of the ribbon. Click on “Group” and select “Group”. Alternatively, you can right-click, move the cursor to Grouping and choose “Group”.
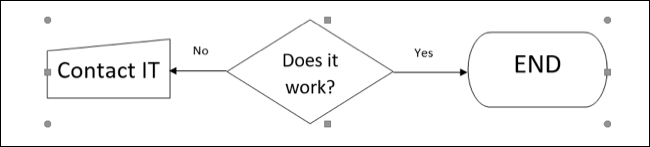
You will then see all those shapes or objects within an edge area. It is now a single element.
After, you can drag to move the group, resize using one of the corners, add color to items or take any action you need.
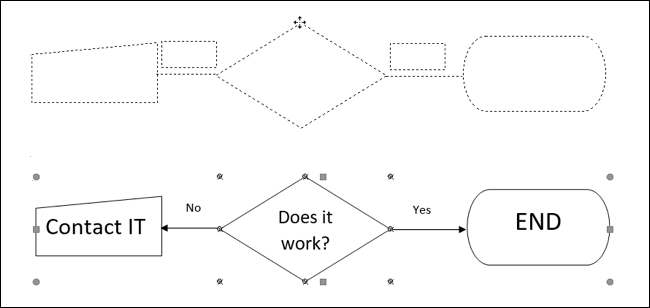
In the screenshot below, we are moving the group upwards. you can view the outline of each item in the group, but they stay together.
How to ungroup objects in Word
Once you group your shapes or objects, they do not need to remain that way permanently. you may only group them together to execute some actions and then want to work with them individually again.
Select the group and return to the Design tab. Click on “Group” and select “Ungroup”.
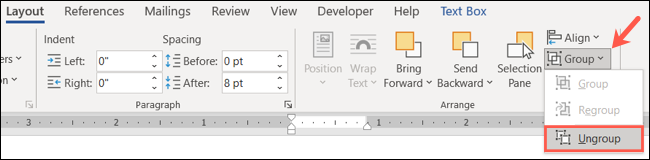
Alternatively, you can right-click, move the cursor to Group and choose “Ungroup”.
You will then see all the items in the group within your own limits, as before initially grouping them.
How to regroup objects
A very useful trick after you have grouped and ungrouped your objects is that you can easily regroup them. The best part is that you shouldn't click on each one..
Just select one of the objects that was in the group and go to the Design tab once again. Click on “Group” and select “Regroup”.
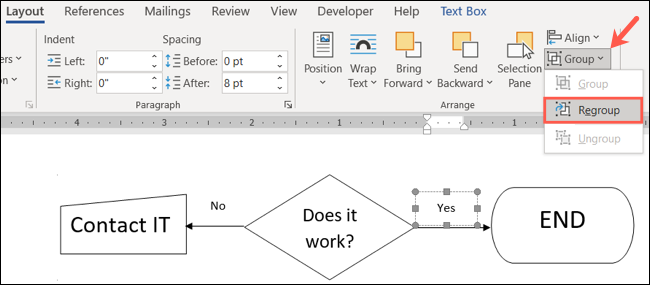
Or you can right click, go to Group and choose “Regroup”.
As if by magic!, word remembers the shapes and objects that were in the group and regroups them for you!
For additional tips, check out our tutorial on working with shapes, images and other graphics in Microsoft Word.
setTimeout(function(){
!function(f,b,e,v,n,t,s)
{if(f.fbq)return;n=f.fbq=function(){n.callMethod?
n.callMethod.apply(n,arguments):n.queue.push(arguments)};
if(!f._fbq)f._fbq = n;n.push=n;n.loaded=!0;n.version=’2.0′;
n.queue=[];t=b.createElement(e);t.async=!0;
t.src=v;s=b.getElementsByTagName(e)[0];
s.parentNode.insertBefore(t,s) } (window, document,’script’,
‘https://connect.facebook.net/en_US/fbevents.js’);
fbq(‘init’, ‘335401813750447’);
fbq(‘track’, ‘PageView’);
},3000);


