
You can fill text with a color, but the function to fill text with an image was removed in Microsoft Word 2013. Despite this, with a little solution, you can still do this in Word for Microsoft 365. Here's how.
If you want to fill your text with a picture in Word, you can't just type the text and fill it like you would in Word 2010, or even in the latest version of PowerPoint. But you can fill the text of a SmartArt graphic with an image.
RELATED: How to get a picture behind the text in PowerPoint
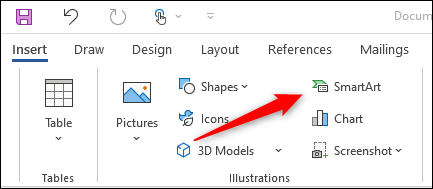
First, open the word app. In the group “Illustration” of the tab “Insert”, click on “SmartArt”.
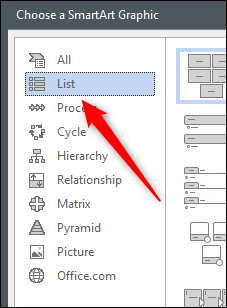
The window will appear “Choose a SmartArt graphic”. In the left panel, choose an option that provides a type of SmartArt graphic that you can write text to. we will use “Ready” in this example.
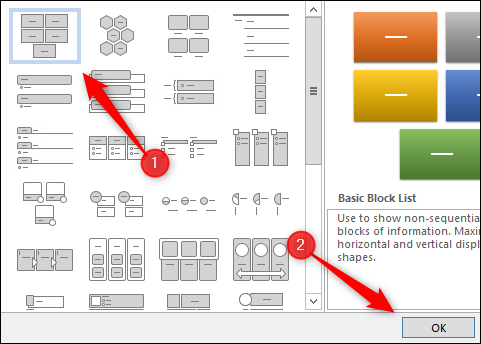
Next, choose the SmartArt graphic you would like to use from the available alternatives within the selected tab. We will use the SmartArt graphic “Basic Block List”. Once it has been selected, click on “To accept”.
SmartArt graphic will now appear in Microsoft Word document. Now, remove all but one of the items within the chart by clicking on each item and pressing the Delete key.
Next, write the desired text on the remaining graphic.

To better see the image inserted in the text, format the text to be larger. You can do it in the group “Source” of the tab “Beginning”.
Here are the font specs we'll use:
- Font type: Cooper nigga
- Size: 82 pt.
- Format: Bold font
This is what our text looks like now.

Next, highlight text by clicking and dragging over text.
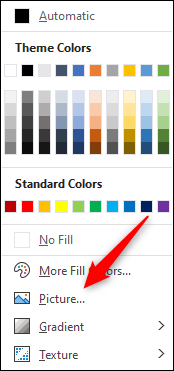
In the group “WordArt Styles” of the tab “Format” that appears, click the option “Text fill”.
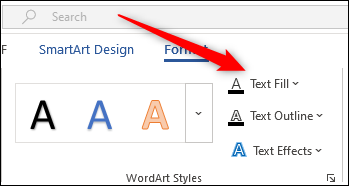
Towards the bottom of the drop-down menu that appears, click on “Image”.
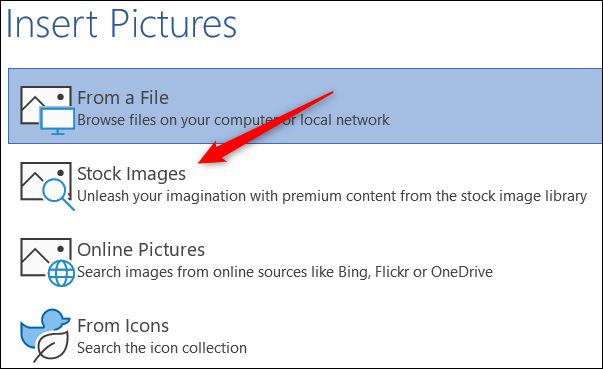
The window will appear “Insert images”. Here, choose where you would like to place an image:
- From a file: Choose an image from your computer.
- Stock images: Choose an image from a stock image library.
- Online Images: Search for an image online.
- From icons: Choose an icon from the Word icon library.
We will use a stock image.
Select your image from the location you chose, then click on “Insert”.
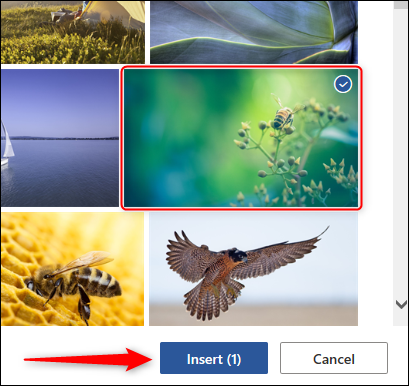
The text will now be filled with the image.

Next, you will need to remove the background from the SmartArt graphic. Select the box and then, in the group “Shape Styles” of the tab “Format”, click on “Shape fill”.
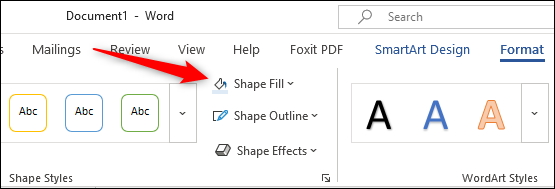
In the drop-down menu that appears, click on “Unfilled”.
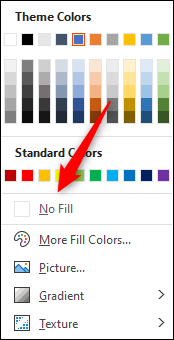
The SmartArt background will now be removed, leaving only the text.

Even though it's not as convenient as it used to be, with this little trick, you can still insert an image inside your text.


