Word's rules allow you to control your page margins and paragraph indentation. They are excellent for accurately aligning images, text and other items. If you are printing a document, rules can help ensure that what you see on the screen translates into what you get on the printed page.
The problem is that the rulers are no longer visible by default in Word. Next, We tell you how to activate them and how to make the most of them.
Note: We are working with Office 2016 in this post. Despite this, rules have been around almost forever and work similarly in older versions of Word.
Activate the rules
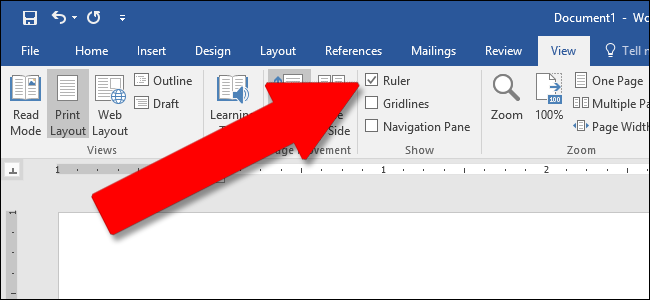
First, make sure you are in Print Layout view. On the tape, switch to tab “Watch” (absolutely right). And “Print layout” aún no está resaltado, click it now.

Now look to the center of the tape. In the section “Show”, enable option “Rules”. You should immediately see the horizontal ruler above your document and the vertical ruler to your left.
Note: The horizontal ruler is also visible in Web Design and Draft view. The vertical ruler is not.
Enter the page setup window
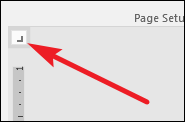
Double click any empty space on the ruler to open the Page Setup window. This is the same window that you can open from the Design tab on the ribbon.
Window “Page setup” muestra la mayoría de las propiedades de diseño físico del documento. The eyelash “Margins” le posibilita determinar los márgenes para la parte de arriba, inferior, left and right, which you can check with the ruler markers (see below). Channel is extra space on the page, which is generally used as an additional blank for things like comb binding (those little plastic corkscrews that make a cheap notebook). It is set to blank by default. You can also use this tab to control the page orientation.
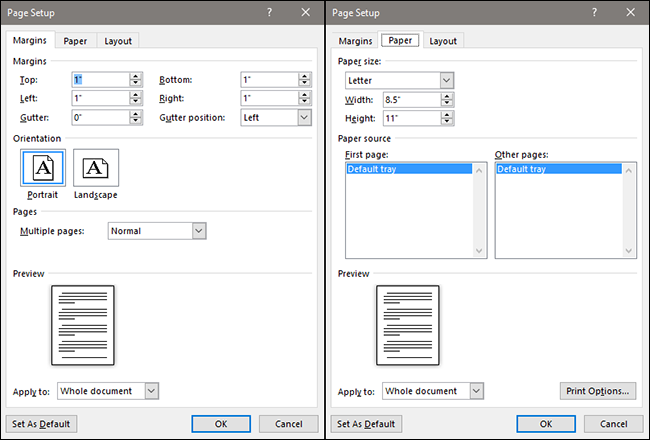
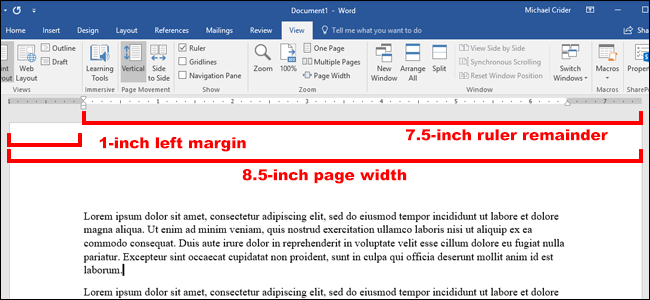
If you are printing your document, the tab “Paper” le posibilita cambiar el tamaño físico del papel para que coincida con los diferentes tamaños de papel en su impresora. The default is 8.5 inches by 11 inches, the standard "Letter" size for printing on US paper. UU. (215,9 x 279,4 mm). You can see the result of this configuration in the digital rules of the page, with the default margins of 1 inch resulting in a horizontal rule of 7.5 inches and a vertical ruler of 10 inches. If you plan to print through a standard home printer or are using the main tray on your office printer, leave it as it is.
Change margins on the fly
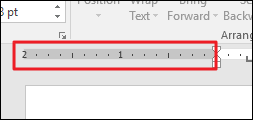
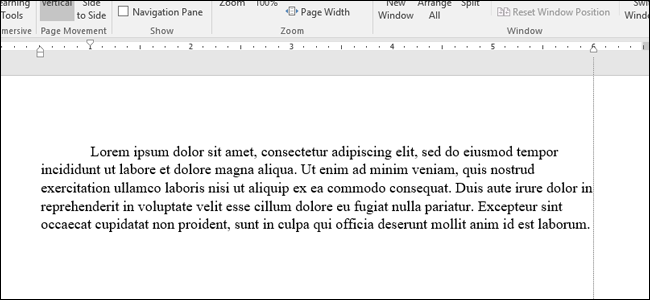
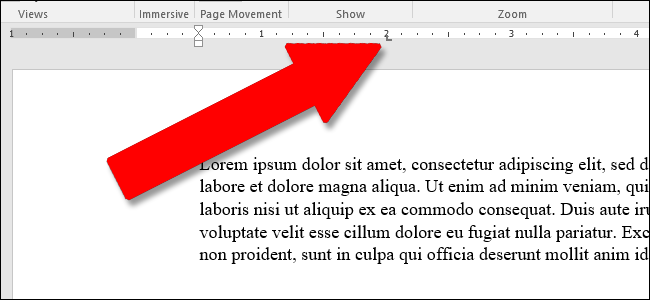
Margins are indicated on the ruler through the gray and white areas. The gray areas at each end of the ruler represent its margin.; the white areas of the active page. The scale of the rulers seems a bit strange at first. Actually, starts at the far left (or at the top of the vertical ruler) with a number indicating the size of your margin and then counting down. When it reaches the white active area, start counting again. You can see this in the image below, where i set the margin to two inches.

In Word's default page setup of 8.5 by 11 inches, the horizontal rule starts at 1 (indicating a margin of one inch), then resets to zero where the margin ends, then count up 7.5 for the remaining horizontal space. The same goes for the vertical ruler: starts at one for a one inch margin, resets to zero in white space and only goes up to ten.
Note: The Word rulers display whatever measurements you have set in File> Options> Advanced> Show measurements in units of. You can change the measurements to centimeters, millimeters, points or spades. Despite this, note that this setting controls the units of measure used in Word, not just the rule.
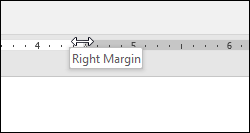
Plus you can quickly adjust margins directly from the ruler. Hover the mouse over the line that separates the white and gray area. You will see the pointer turn into a double arrow and you will probably see a tooltip that will let you know that you are pointing to the margin. Now, just click and drag that line left or right to adjust that margin.
Change indents on the fly
Those little box and triangle shaped markers on the ruler are pretty handy. Control the indentation of individual paragraphs. Just place the cursor on the paragraph you want to adjust and slide it. If you want to change multiple paragraphs, select the paragraphs you want to change. And if you want to change the indents in the whole document, just press Ctrl + A (to choose everything) and then adjust the sliders.
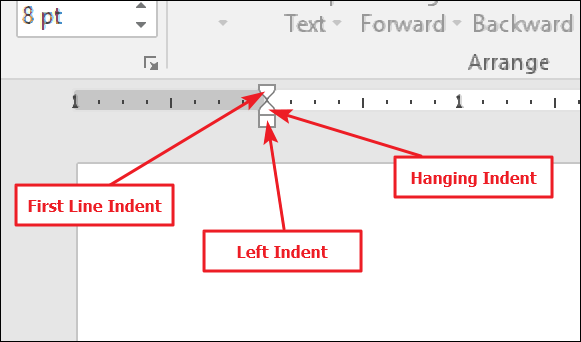
This is how each indentation works.
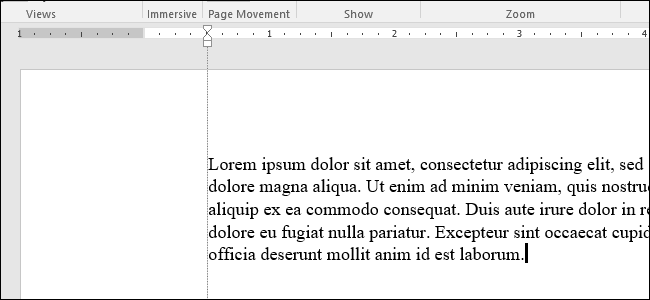
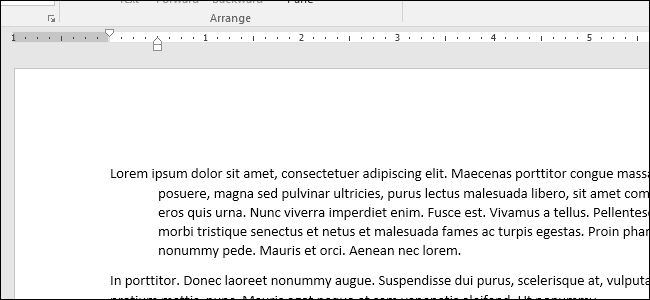
Dragging the Left Indent marker changes the indentation of all lines in a paragraph. As you slide it, the other two indentation markers also move. Here, I'm moving the left indent half an inch in from the left margin.
Dragging the first line indent marker changes the indent only for the first line of a paragraph.
Dragging the French indentation marker changes the indentation of all lines except the first line.
On the far right of the ruler, you will find only one bookmark: the right indent marker. Drag to constrain the paragraph on the right side.
Add tabs
A tab stop is the location the cursor moves to when you press the Tab key. A default Word document does not have tabs, so every time you press the Tab key, the cursor advances about eight characters. Tab settings allow you to better control and align text.
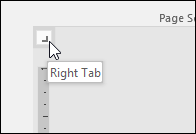
Decidedly, Word offers enough options to make things a bit more complicated than that. If you look to the left edge of your document, just above the vertical ruler, you will see the Tab Stop button.
Clicking on this button allows you to go through the different types of tabs that Word makes available.. Are here:
- Left: The tabs on the left are Word's default tap stop. They are what most people think of when they think of tabs and what they will probably use most of the time. Text is aligned against the left edge of the tab stop.
- Center: Center tabs align text around the center of the tab stop.
- Right: The tabs on the right align text to the right edge of the tab stop and are a great way to align the rightmost digits in long lists of numbers as you enter them..
- Decimal: Decimal tabs align numbers (the text) according to decimal points. They are excellent for aligning currency figures. But be careful. The text is also decimal-aligned, so if you write a sentence with a period, the point will be aligned on the tab stop.
- Bar tab: Bar tabs do not create an actual tab. Instead, create a vertical line wherever you insert them. You can use them to place vertical lines between tabbed columns in cases where you prefer not to use a table.
- Indents: Select the first line and French indentation alternatives, and then click anywhere in the active ruler space (the white area) to place the indentation there. This works in the same way as dragging the indentation markers in the way we discussed in the previous section.
A little advice for you. If you are going through the tabs and you don't remember what each symbol means, move the mouse away from the button and then re-activate a tooltip describing that tab.
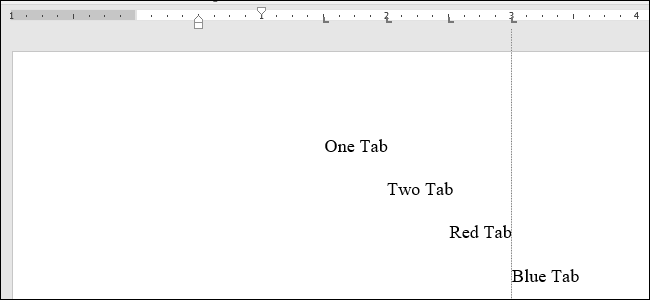
To insert a tab, just use the button to choose the type of stop you want. Now, point the mouse anywhere on the white part of the horizontal ruler (toward the bottom of the ruler line) and then click. A symbol appears indicating the type of tab you have placed. This is a tab marker, which shows where the text will jump to if you press the Tab button on your keyboard.
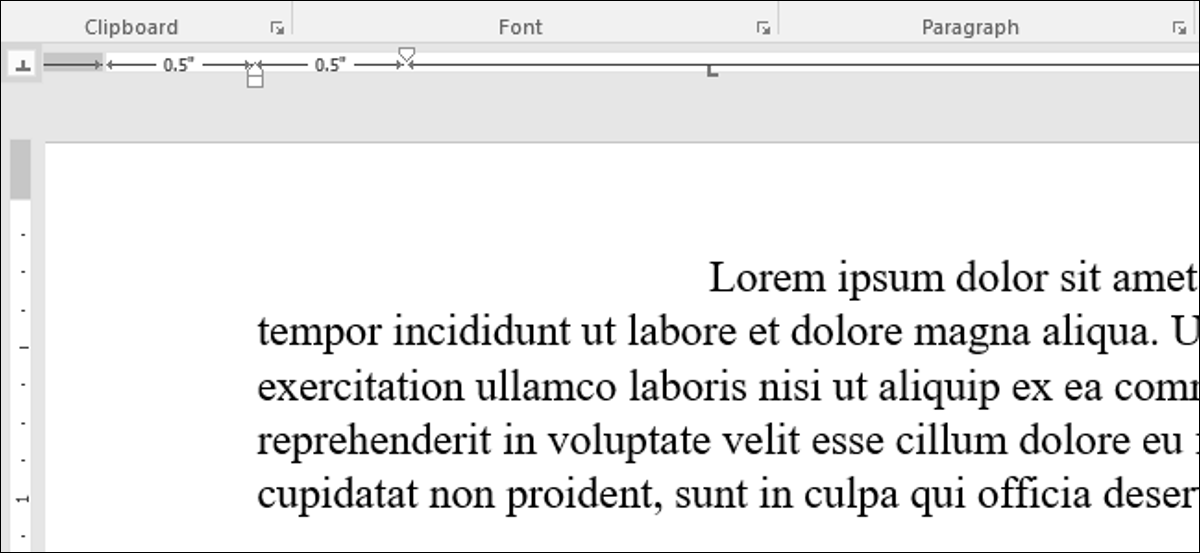
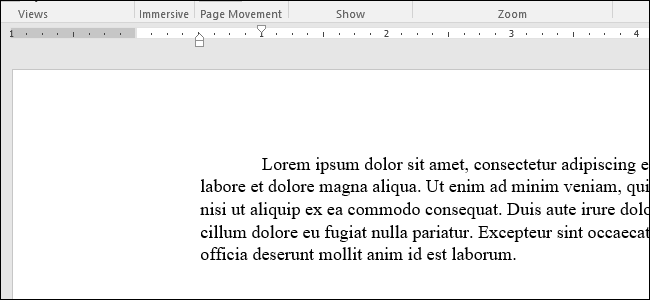
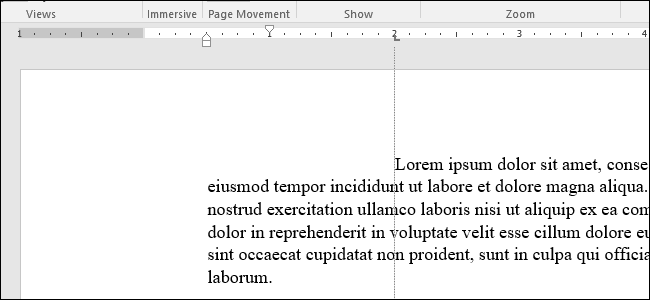
Here is an example. In this paragraph, the left indent is half an inch from the left margin, the indent of the first line is another half inch further in and I have set a tab to two inches. Presioné el botón Tab con el cursor delante de “Lorem”, so the text jumped to my manually set tab point.
You can insert multiple tab markers if you want, and you can click and drag them to reposition them on the fly.
To get rid of a tab marker, just drag it down (far from the rule) and release the mouse button.
AND, if you prefer to configure tabs manually (and a little more exactly), haga doble clic en cualquier marcador de pestaña para abrir la ventana “Tabs”.
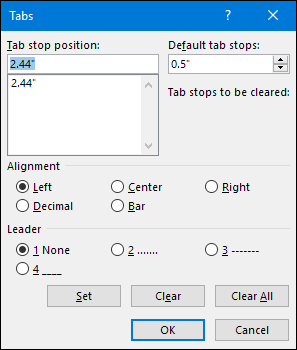
The ruler is just one of the little features in Word that includes a lot more features than most people realize.. Provides a quick way to control margins, determine multiple indents for a paragraph and keep things in line using tabs. Why Word leaves it disabled by default is out of our reach, but at least now you know how to turn it back on and put it to use.


