
Microsoft Word Mail Merge is a Great Productivity Tool. Knowing how to create custom subject lines and attachments that Word's basic mail merge feature doesn't support can be a lifesaver when you have to write emails in bulk..
In today's post, you will learn how to use the Word Mail Merge Wizard 2010, to write personalized email subjects and to configure different attachments for each of the recipients of your email.
Picture of MISTER
Create a distribution list
The Word mail merge saves us the tedious task of manually entering each recipient's email address by allowing us to import email addresses from Outlook contacts., Excel or Access data sources, or Word data files.
The Outlook contact is the best option among the three and, if you haven't used it, now will be a good time to update your Outlook address book and we will show you how to do it. You can skip the next section and start typing your mail merge, if you already know how to set up an Outlook contact, opposite case, The next two sections will give you some basics on how to set up your Outlook contact via importing your web-based contact list.
Set up your email profile
Outlook contact setup begins with creating an email profile that stores the email address for your account, the password, server information and links to other data, like messages and email addresses.
![]()
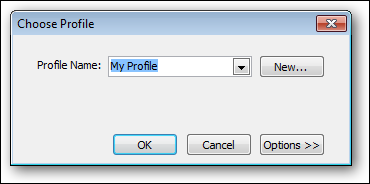
You can create some profiles, each adapted to a specific email account.
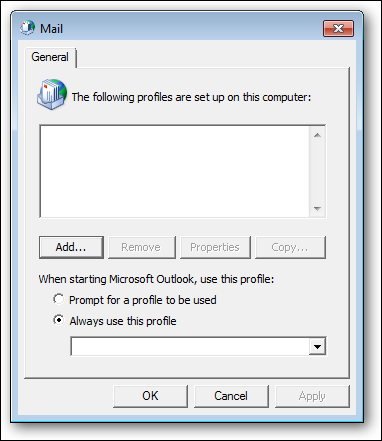
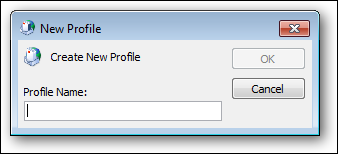
A suitable profile name enables you to identify the email account that you associate with your email profile..
You have the option to configure your email profile using the email address you received from your ISP, or your own email account by selecting the third option.
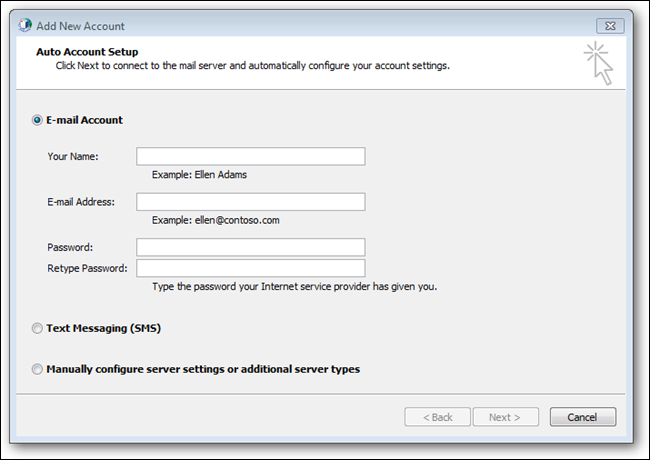
Please select “Email de Internet” to use an email provider that offers a POP service, as an example, GMail.
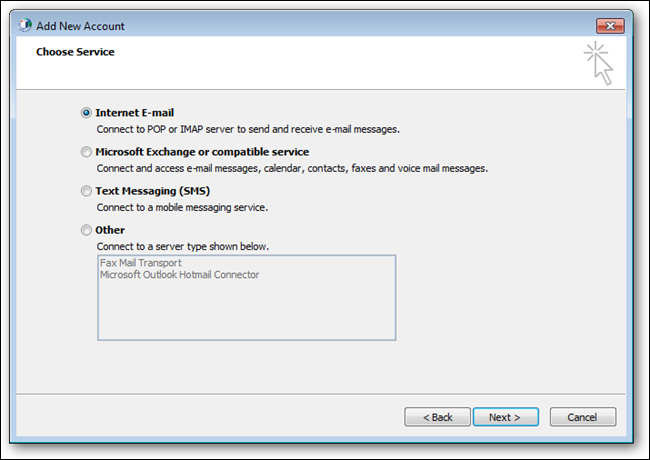
Each Internet email provider has different POP settings, be sure to read your user manual for your POP settings.
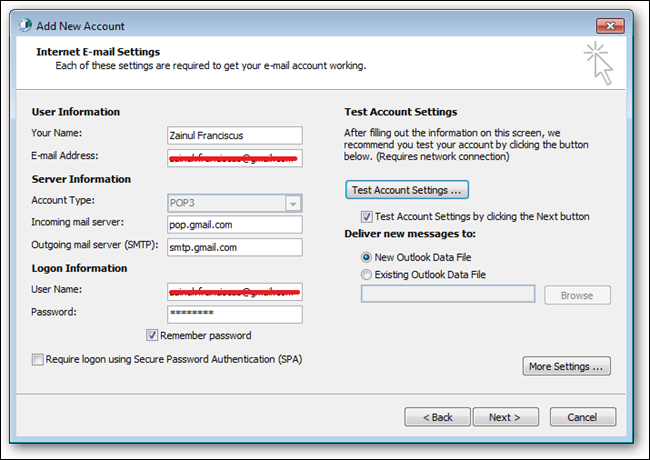
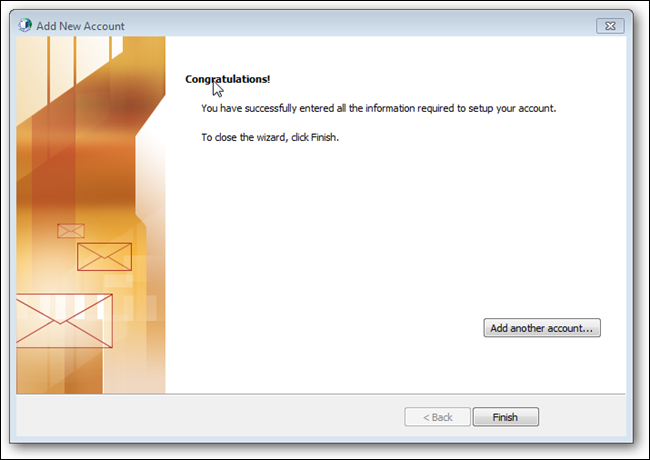
Congratulations! If you see this screen, you have configured your email profile correctly. Now, we are ready to configure the Outlook contact folder.
Filling your contact folder
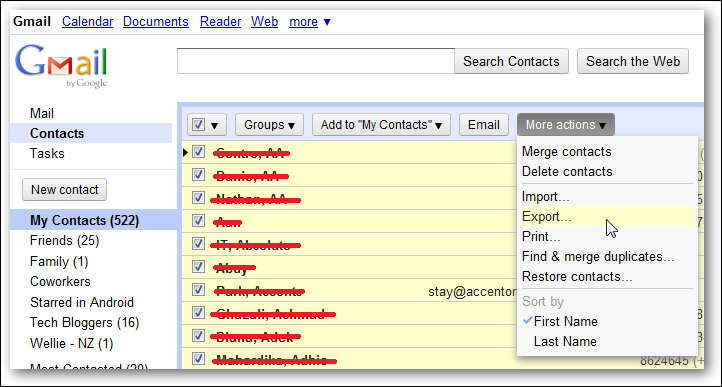
You can enter your distribution list manually in Outlook or import other web-based address books, like GMail address book, Yahoo o Hotmail. Most web-based email providers allow us to export our address book to an Outlook compatible data source.. As an example, Gmail gives us the option to export our contacts to a CSV file compatible with Outlook.
The Outlook import feature supports a range of file types: csv, vcard, RSS, iCalendar and many more, making it a great tool for creating your mail merge mailing list.

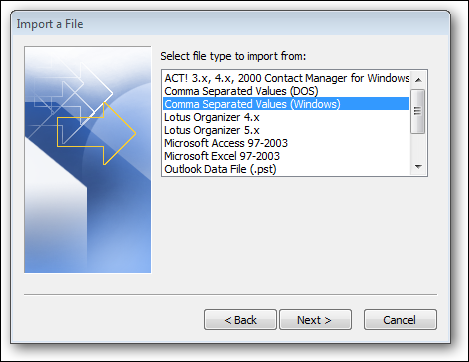
CSV file is included in the category “Other program or file” and Outlook.
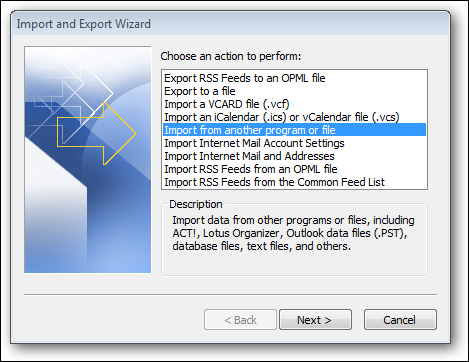
Archivo ACT, DOS CSV, Lotus, Access 97-2003, PST files, are some of the program files that Outlook supports; for us, we choose the file type Comma Separated Values (Windows).
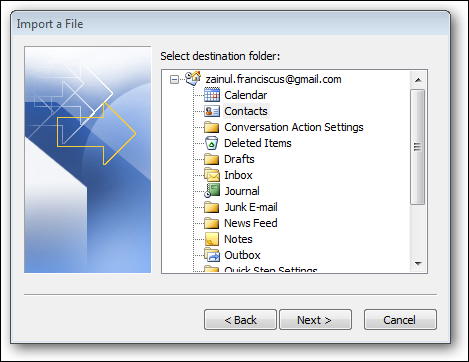
Now, find the CSV file we just exported from the Gmail address book.

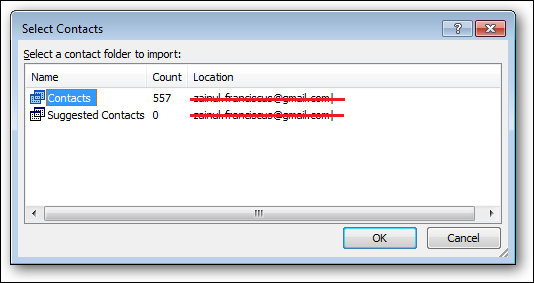
Of all these folders, contact folder is the best choice for our mail merge purpose.
Outlook takes a few minutes to import your contact based on the number of email addresses you are importing.
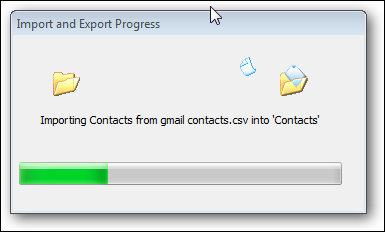
We should be able to use this contact folder, once Outlook has finished importing all your contacts, for the mail merge.
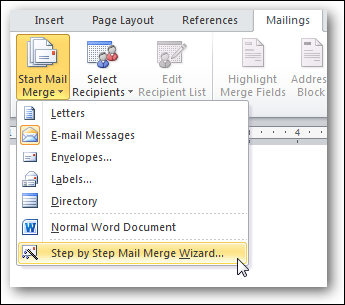
Start with a blank document and open the ribbon “Correspondence” to start our mail merge.

The wizard is the best way for beginners to get started with their first mail merge exercise.
Selecting message recipients
The wizard will ask us to choose the type of document for our mail merge. Emails are the appropriate document type for today's mail merge exercise.
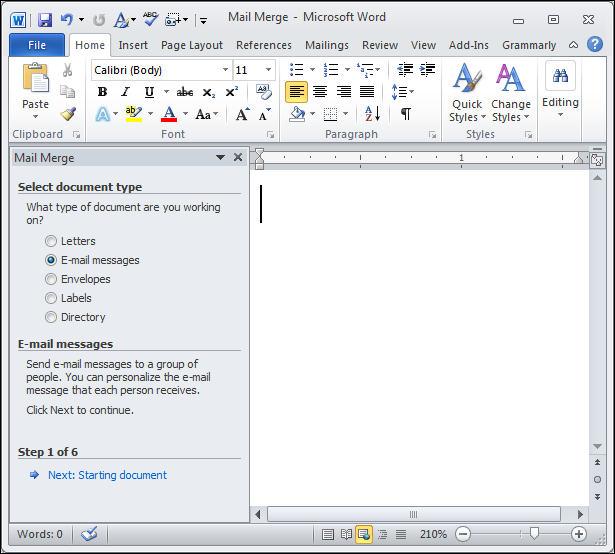
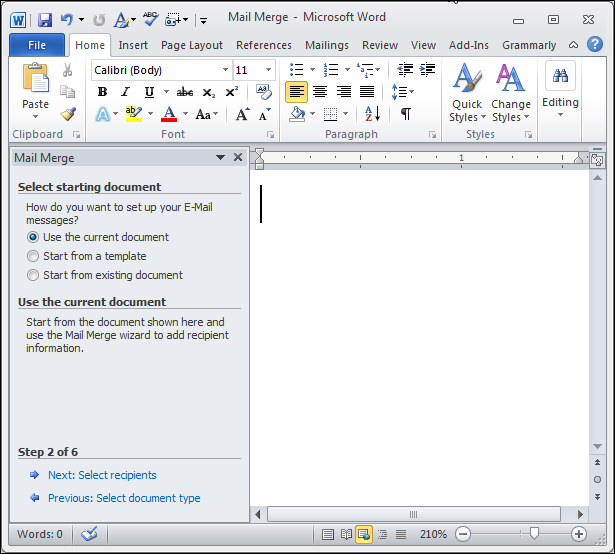
We can start writing our email message from a blank document, an existing document or template.
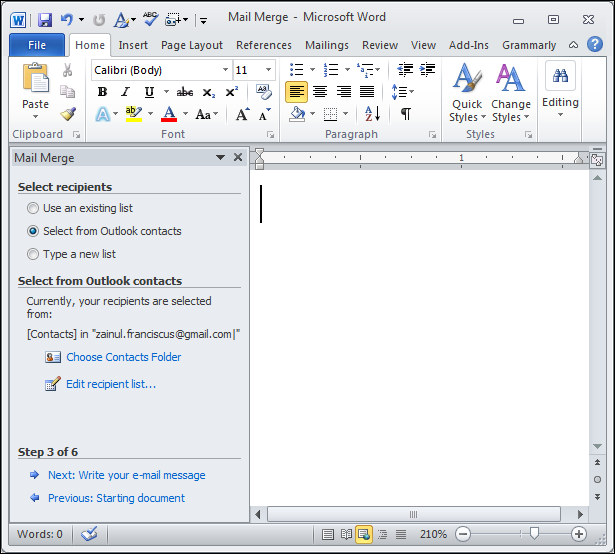
Choose our Outlook contact folder as our mail merge distribution list in step 3.
We have the option of using any of the email profiles that we configure in our system.
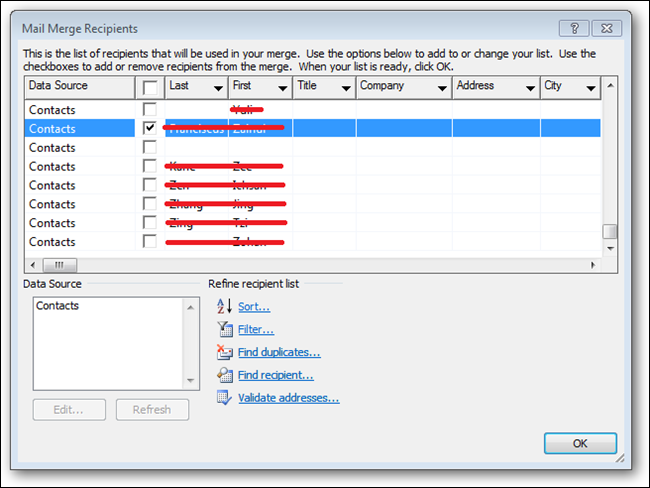
Your contact count should be more than zero if Outlook imported your Gmail address successfully.
Choose the people you want to include in your email distribution by checking the corresponding checkboxes.
Writing the email message
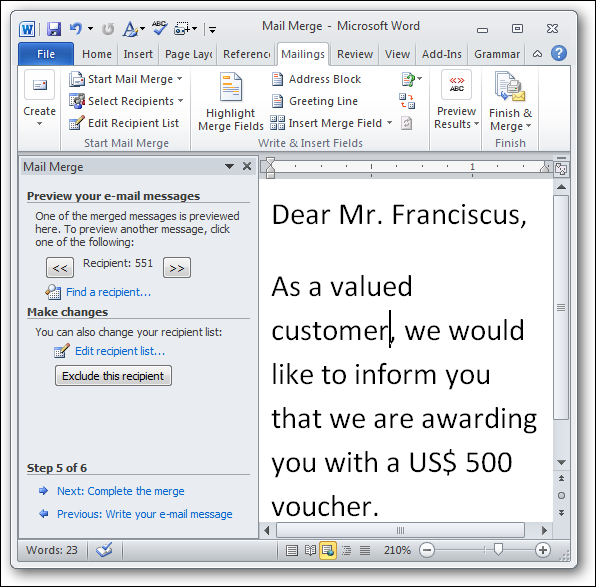
Start writing your email message and insert merge fields where you want to place personalized messages, like title or last name, in the appropriate place in your document.
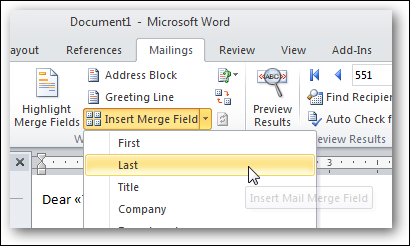
Each merge field will be enclosed within a double chevron; will be replaced by the information on your contact card when you complete the mail merge wizard.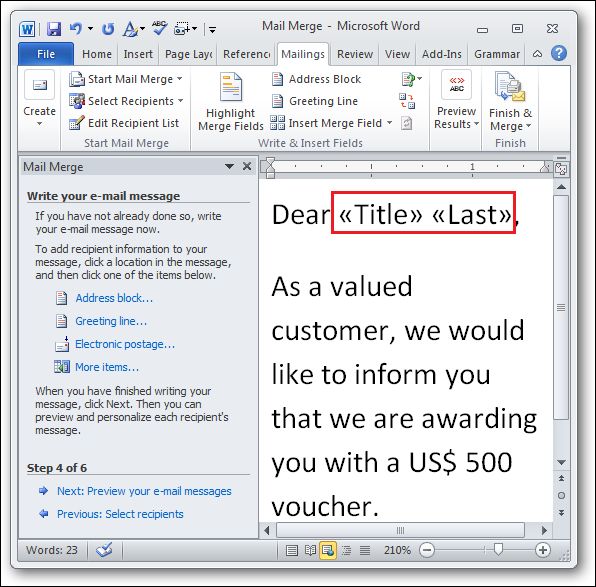
Preview your email message to see how Word processes merge fields by clicking on the link “Next: Preview your emails”.
If you are satisfied with the preview, click on the link “Next: complete the combination” and Word will send the combined email to all its recipients with a common subject.
Customize your subject line
The wizard divides the mail merge procedure into these steps: select the correct document type and template, create a distribution list, browse mail merge preview and send emails to all your recipients.
In this point, You might notice two common email writing activities that the wizard doesn't support: write custom subject lines and configure different attachments. We have to use macro to make them in the mail merge, preferably before completing the wizard.
With your open letter, press “Alt + F11” and double-click “This document” in your Word work window, to open the macro editor.
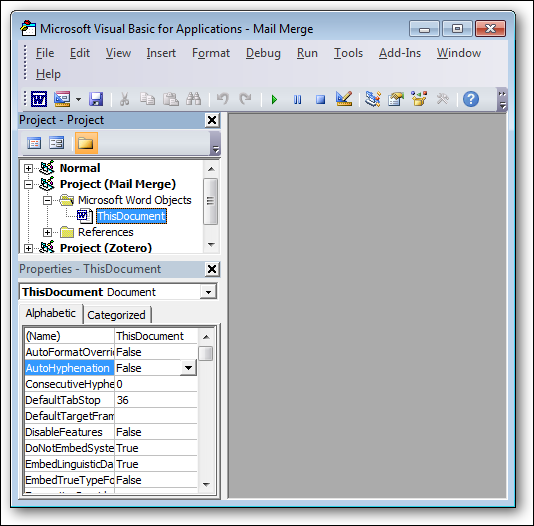
Paste this macro code, written by an expert macro coder hutchinsfairy, in the blank panel and save it.
Dim WithEvents wdapp As Application
Dim EMAIL_SUBJECT As String
Dim FIRST_RECORD As Boolean
Subdocumento privado_Open ()
Determine wdapp = Application
ThisDocument.MailMerge.ShowWizard 1End Sub
Private subdocument_Close ()
Determine wdapp = Nothing
End Sub
Sub privado wdapp_MailMergeBeforeRecordMerge (ByVal Doc as document, cancel as boolean)
Dim i as integerCon ActiveDocument.MailMerge
Si FIRST_RECORD = True Entonces
EMAIL_SUBJECT = .MailSubject
FIRST_RECORD = Falso
Caso contrario .MailSubject = EMAIL_SUBJECT
It will end ifi = .DataSource.DataFields.Count
Do while me> 0
.MailSubject = Reemplazar (.MailSubject, “”, .DataSource.DataFields (i) .Value“, vbTextCompare)
I = I – 1
CircleFinish with
End Sub
Private Sub wdapp_MailMergeBeforeMerge (ByVal Doc as document, ByVal StartRecord tan largo, ByVal EndRecord so long, Cancel as boolean)
FIRST_RECORD = Verdadero
End Sub
Private Sub wdapp_MailMergeAfterMerge (ByVal Doc as document, ByVal DocResult as document)
ActiveDocument.MailMerge.MailSubject = EMAIL_SUBJECT
End Sub
Return to your document and click on the link “Next: complete the combination” to send your email.
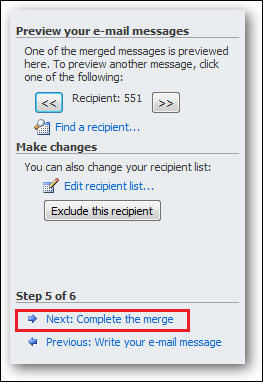
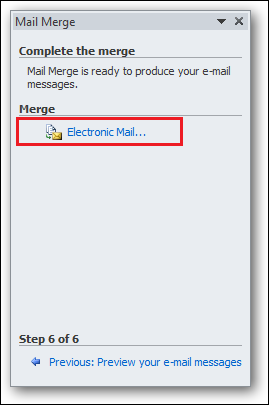
Click on the link “Email …” to send your message.
Place the appropriate merge fields, surrounded with a chevron, in the subject line.

The macro will parse the merge field and replace it with the recipient's last name when Word sends the document by email.
Attach different items to your email
So far, we have learned how to use the mail merge wizard and how to customize the subject fields. To complete today's guide, we will show you a third party plugin that allow us to attach a different file for each email.
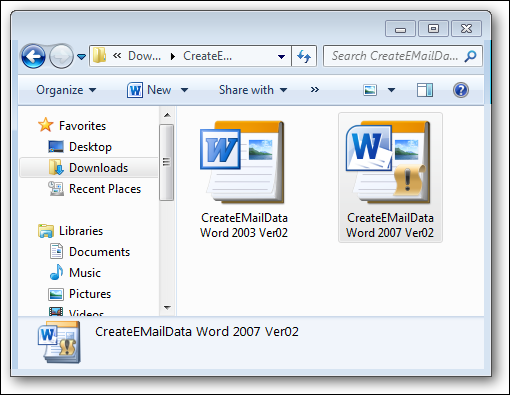
Download the plugin, unzip it and you will see that the add-in comes as Word document templates. Use “CreateEMailData Word 2007 Ver02”, if you use Word 2007 O 2010, and “CreateEMailData Word 2003 Ver02”, if you use Word 2003.
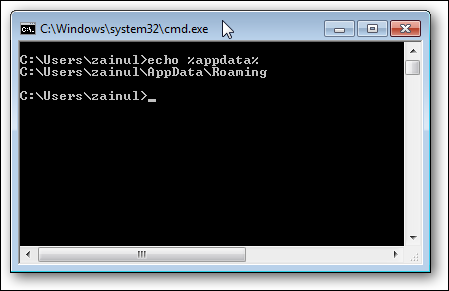
copy the appropriate document template to your folder “% appdata% Microsoft Word STARTUP” where “% appdata%” is your microsoft home folder; in our case it is “C: Users zainul AppData Roaming”.
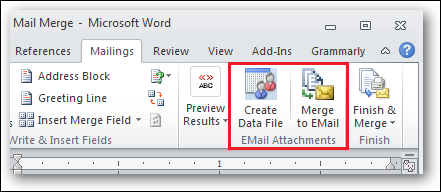
Restart your Word, after copying the file to the Microsoft home folder, and you should see two new plugins: Create data file and Merge in email, in the ribbon menu “Mail”.
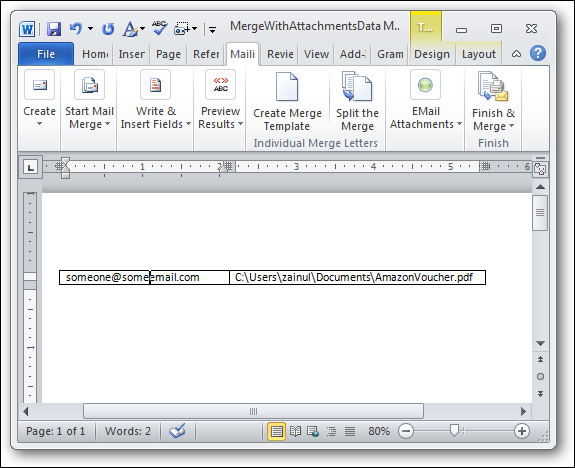
Prepare a data file with a two-column table: the recipient's email address in the left column and the full path to your attachment in the right column, then save it in the same folder as your email merge document as “MergeAttachmentsData”. We must emphasize that you should save the file as “MergeAttachmentsData”, opposite case, the plugin cannot find the file to search for attachments.
Go back to your mail merge document and divide the documents into individual files.

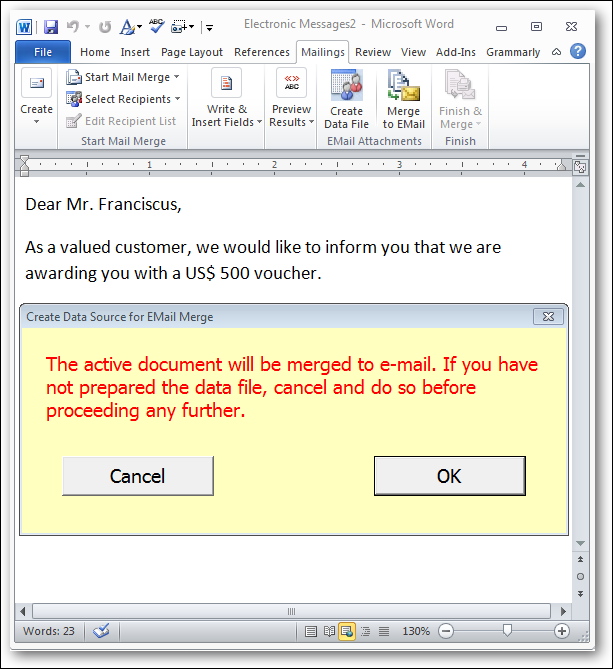
A new Word document window should appear and click the add-in button “Combine with email”. Just click the 'OK' button’ in yellow dialog, since we already prepare the data file.
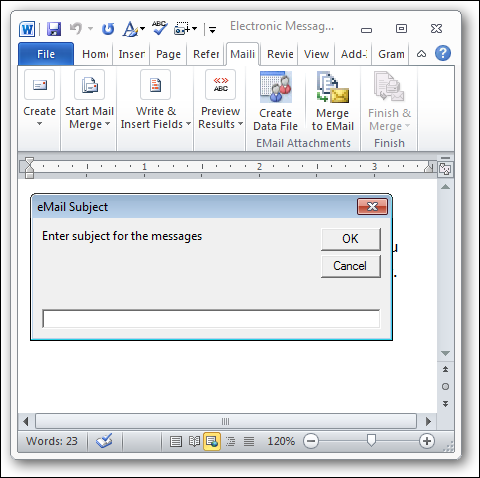
Put a suitable subject for your email, click OK and Outlook will send your email with the attachment you specify in the data file.
Word, with its many useful functions, it is truly a great productivity tool. We hope to write more posts in Word for our readers.. In the meantime, check out the other Words posts on our site.
We hope you have learned how to use the Word mail merge in today's post. Feel free to discuss other mail merge tips with other readers in the comment section..


