With the use of masks, you can customize the user interface and style of the Steam client to what you prefer on Windows 10. Here's how to do it, Step by Step.
First, download your favorite steam skin
To use a Steam skin, you should find one on the internet. To search for the best Steam skins, we suggest visiting steamskins.org, a web portal that offers nifty themes for your client.
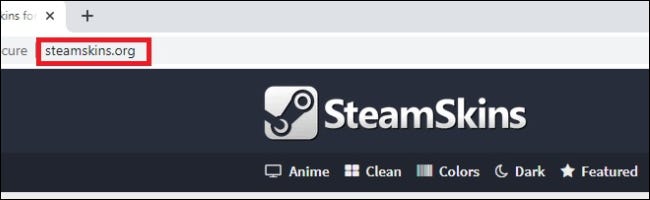
To see the most popular skins uploaded to the web portal, click on the tab “Popular” at the top of the web page. Other tabs include "Anime", "Cleansed", "Colors" (featuring masks that highlight a color), "Dark", "Claro" and "Suave" themed skins. Choose the right tab for you.
After selecting a tab, you will find a list of available skins. Each skin page provides a description of what the skin is trying to accomplish, its readability, a record of how the mask has altered over time or some combination of these aspects.
Please note that there may be some drawbacks to some of these skins. As an example, in some masks, the function “Large picture mode” on Steam it doesn't have a button, and you may have to go through the menu “Watch” instead.
Once you have decided which mask to use, scroll down to the center of the page, just above “Associated masks” and below “Installation instructions”. You will see an option to use a “Direct download” or one “External discharge”.

We suggest “External discharge”, since you can download the latest version directly from the author of the skin. It has a higher probability of being an updated version that is compatible with the latest Steam updates.
Next, create the folder “More expensive”
Once you have downloaded the file (and before extracting the ZIP), you need to create a new folder for the skin you just downloaded.
First, open File Explorer and visit C:Program Files (x86)Steam (or the installation location of the Steam program). Right click on an empty space in the folder and select New> Folder.
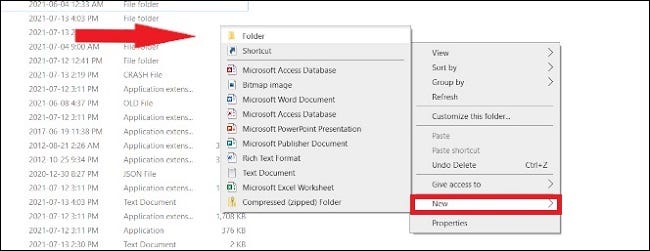
Write the name skins and press Enter. If you make a mistake, rename the folder to skins.
Extract the Steam Skin file
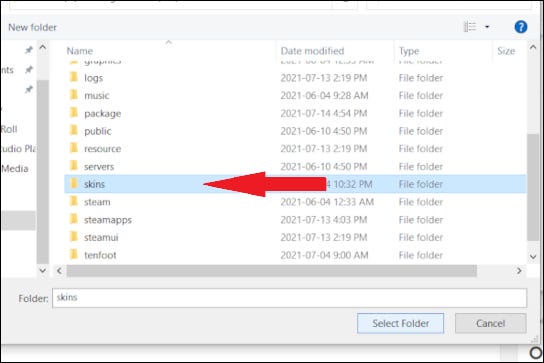
Next, Find the original ZIP file of Steam skin that you downloaded, right-click on it and then select “Remove all”. When on the extraction screen, click on “Examine” and look for C:Program Files (x86)Steamskins, which is the folder you just created. Click on “Choose folder” and the ZIP file will begin to extract.
Once extracted, you can remove the ZIP file. You won't need it again (unless you choose to reinstall it on another machine later).
In conclusion, select skin in steam settings
Once all the files have been moved to the folder “More expensive”, open the Steam client. In the upper left, click on “Steam” and then in “Setting”.
When I get there, select “Interface” in the sidebar. After, click on the drop-down menu “Select the skin you want Steam to use” and select the mask you want to use.
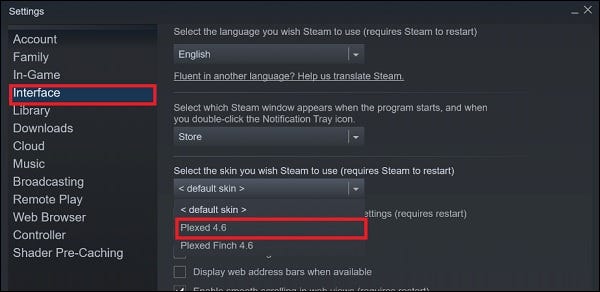
After confirming, Steam will request a restart of the Steam client. Let Steam reboot, log in with your account details and you will see your new skin in action!
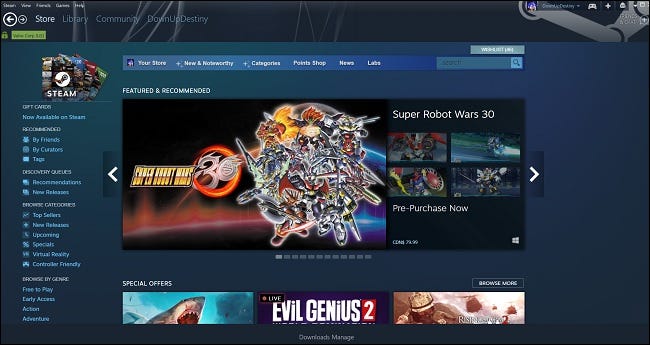
There is a warning
You could experience compatibility issues depending on the skin you use. As an example, with the mask “Plexed” what do we choose in our example, the store page looks great on Steam, but once we try to start the library section, went blank. If the update comes from 2018 the before, it probably won't show your library. Go to section “External discharge” from steamskins.org to find the latest version of the skin you want, or just search in google search.
How to revert to the default Steam skin
If you change your mind and want to go back to the standard Steam look, abra “Setting” and then click “Interface”. On the menu “Select the skin you want Steam to use”, choose “

Press “To accept” and you will be asked to restart the Steam client. Everything should be back to normal on your favorite PC platform. Whatever your configuration, We long for the best in your PC gaming adventure. Have fun!
RELATED: How to get better Steam price alerts


