
In general, Windows 11 will automatically set your PC's time zone based on your location information, but if you have location services disabled (Windows is confused), you can also manually set your time zone. That's how.
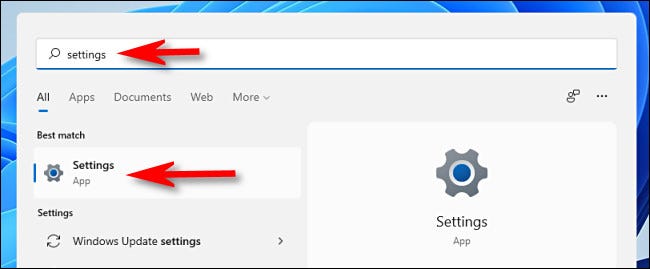
First, open Windows Settings by pressing Windows + i on your keyboard. O puede abrir Inicio y buscar “setting”, then click on the icon “Windows Settings”.
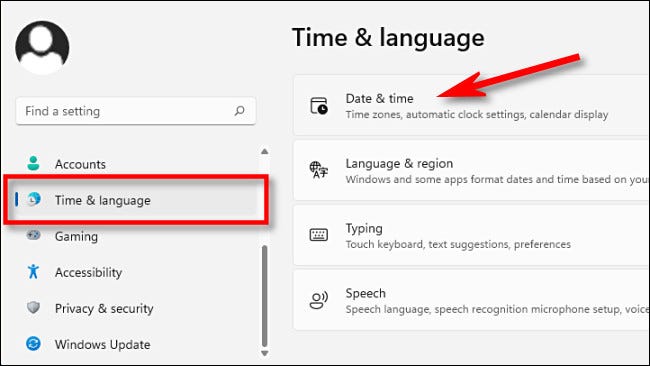
When Settings opens, select “Time and language” in the sidebar, then click “Date and Time”.
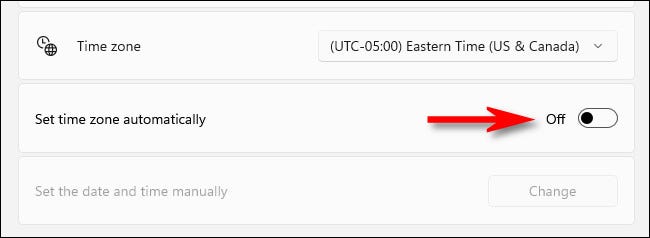
In the Date and time settings, desplácese hacia abajo y coloque el interruptor junto a “Determinar zona horaria automáticamente” on “disabled”.
If the option is grayed out, It is because your privacy options do not allow sharing the location of your PC with Microsoft. If that's the case, entonces esta opción ya está configurada en “disabled”.
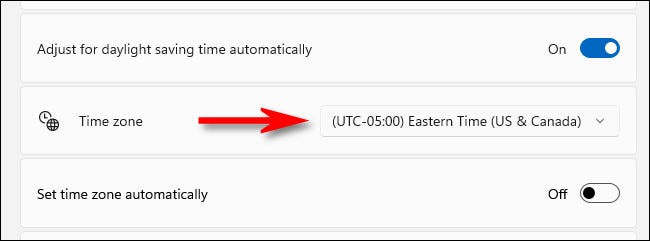
Next, suba una fila en Configuración hasta que vea la opción “Time zone”. Click on the drop-down menu next to it and select the time zone you would like to use.
Thereafter, close Settings and you are good to go. If at any time you need to manually change your time zone again, just open Settings and change it in Time and language> Date and time. Or if you want Windows to set your time zone automatically, change “Determinar zona horaria automáticamente” to position “Activated”. Happy travels!
RELATED: How to change the date and time in Windows 11


