
By default, Windows 11 check for and install updates automatically. If those automatic updates are not convenient for you, Windows allows you to pause automatic updates for a week. Here's how to do it.
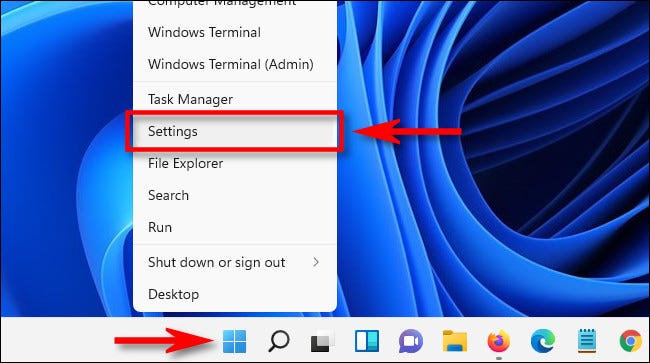
First, open Windows Settings by pressing Windows + i on your keyboard. Or you can right-click the Start button on the taskbar and choose “Setting” in the menu that appears.
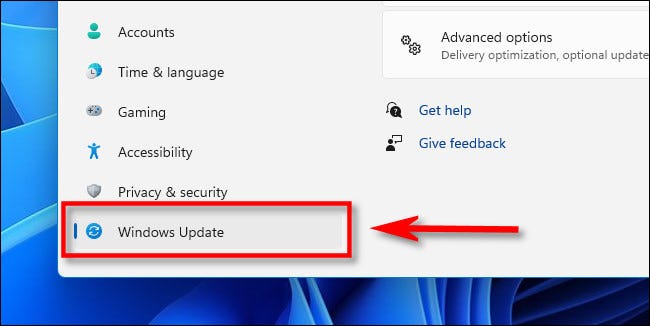
When Settings opens, click on “Windows update” in the sidebar.
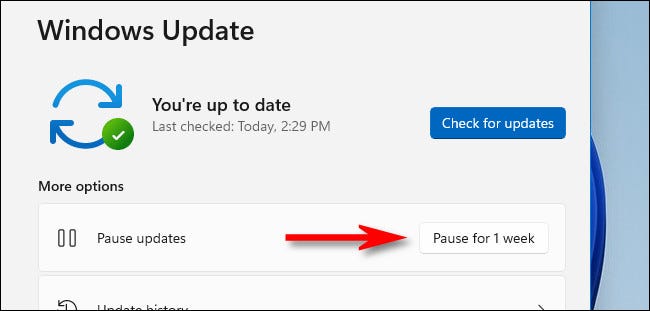
In Windows Update settings, look in the section “More options” and click the button “Pause for 1 week”.
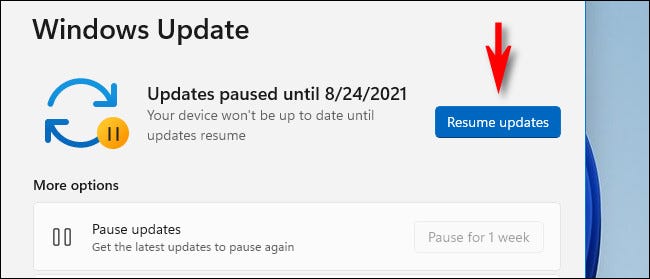
Thereafter, the Windows Update settings page will display “Updates paused until [date],” where [date] it is a date one week since you clicked the pause button. When that date arrives, automatic updates will resume.
How to resume automatic updates in Windows 11
To turn automatic updates back on, open Windows Settings and navigate to “Windows update” in the sidebar. Near the top of the window, Click the button “Resume updates”.
After clicking “Resume updates”, Windows Update will check for new updates and, if you find any, you will have the possibility to install them by clicking on “download now”, “Install Now” O “Restart now”, depending on the type of update available and if you have already downloaded it. Good luck!
RELATED: How to update Windows 11
setTimeout(function(){
!function(f,b,e,v,n,t,s)
{if(f.fbq)return;n=f.fbq=function(){n.callMethod?
n.callMethod.apply(n,arguments):n.queue.push(arguments)};
if(!f._fbq)f._fbq = n;n.push=n;n.loaded=!0;n.version=’2.0′;
n.queue=[];t=b.createElement(e);t.async=!0;
t.src=v;s=b.getElementsByTagName(e)[0];
s.parentNode.insertBefore(t,s) } (window, document,’script’,
‘https://connect.facebook.net/en_US/fbevents.js’);
fbq(‘init’, ‘335401813750447’);
fbq(‘track’, ‘PageView’);
},3000);


